Logging to CrowdStrike
How to configure CrowdStrike to receive logs from Nametag.
This tutorial shows how to configure CrowdStrike Next-Gen SIEM to receive logs from Nametag.
Use CrowdStrike’s HTTP Event Collector (HEC) to push events from Nametag to your CrowdStrike SIEM.
Prerequisites
To complete this tutorial, you need the following:
- A subscription to Falcon Next-Gen SIEM or Falcon Next-Gen SIEM 10 GB.
- CrowdStrike Falcon Administrator or Connector Manager privileges.
- Nametag Administrator privileges.
Create a CrowdStrike connector
Sign in to CrowdStrike Falcon console. Go to the main menu, then go to Next-Gen SIEM > Log Management > Data on-boarding.
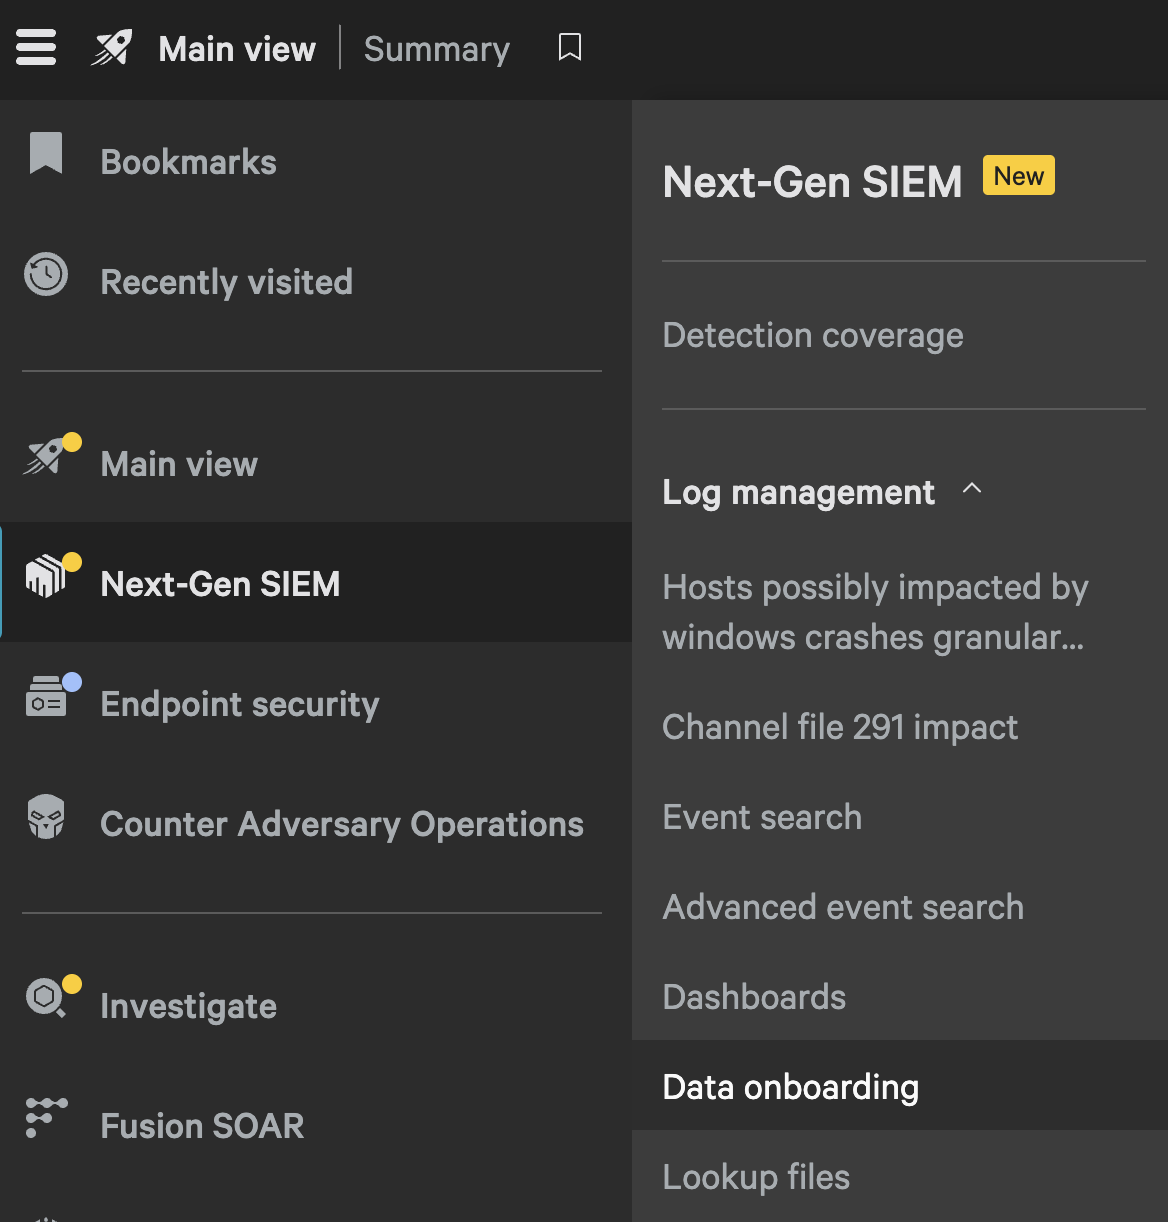
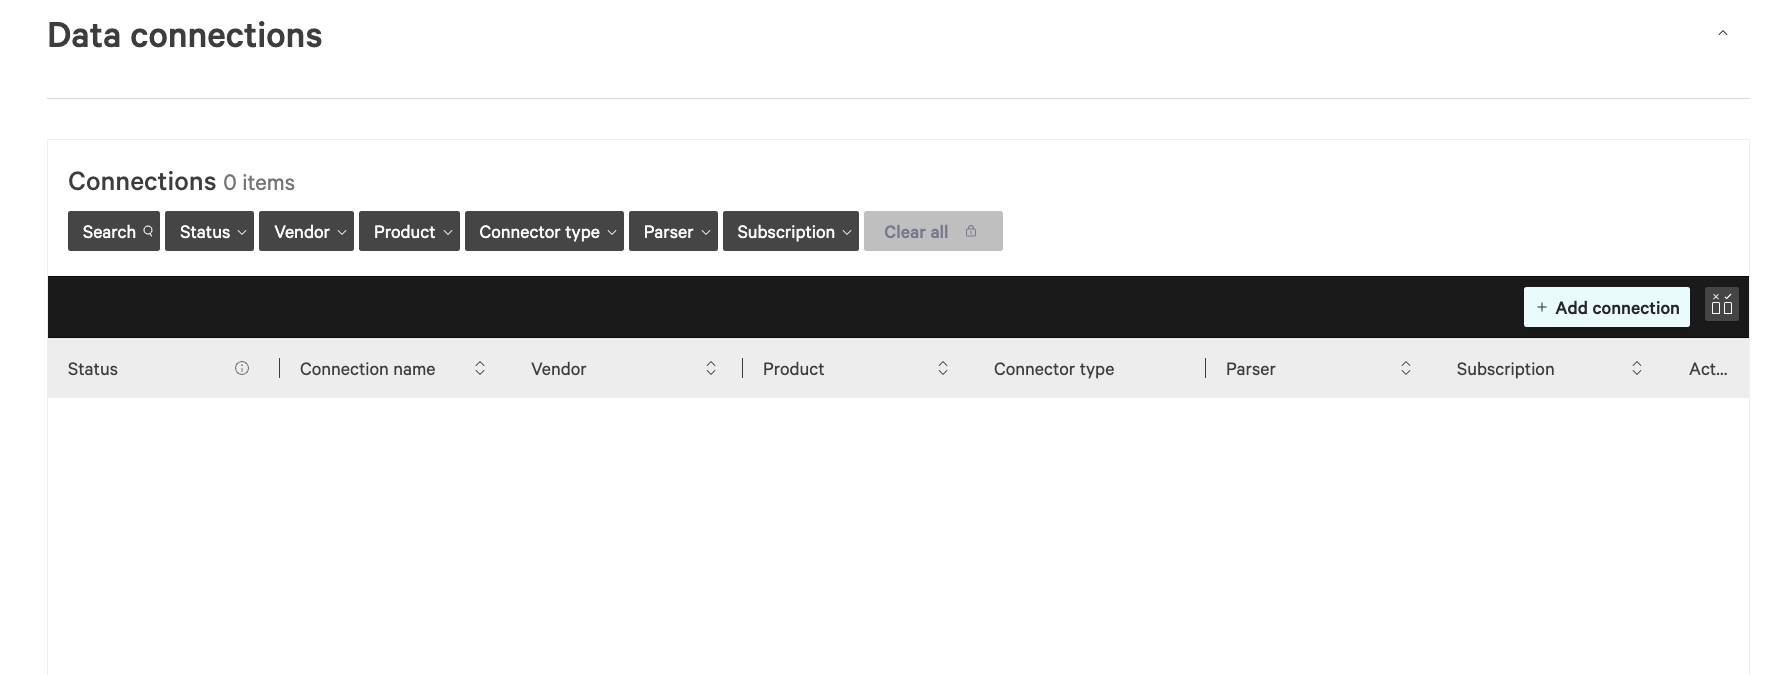
Select Add Connection.
Select HEC / HTTP Event Connector from the list of connectors.
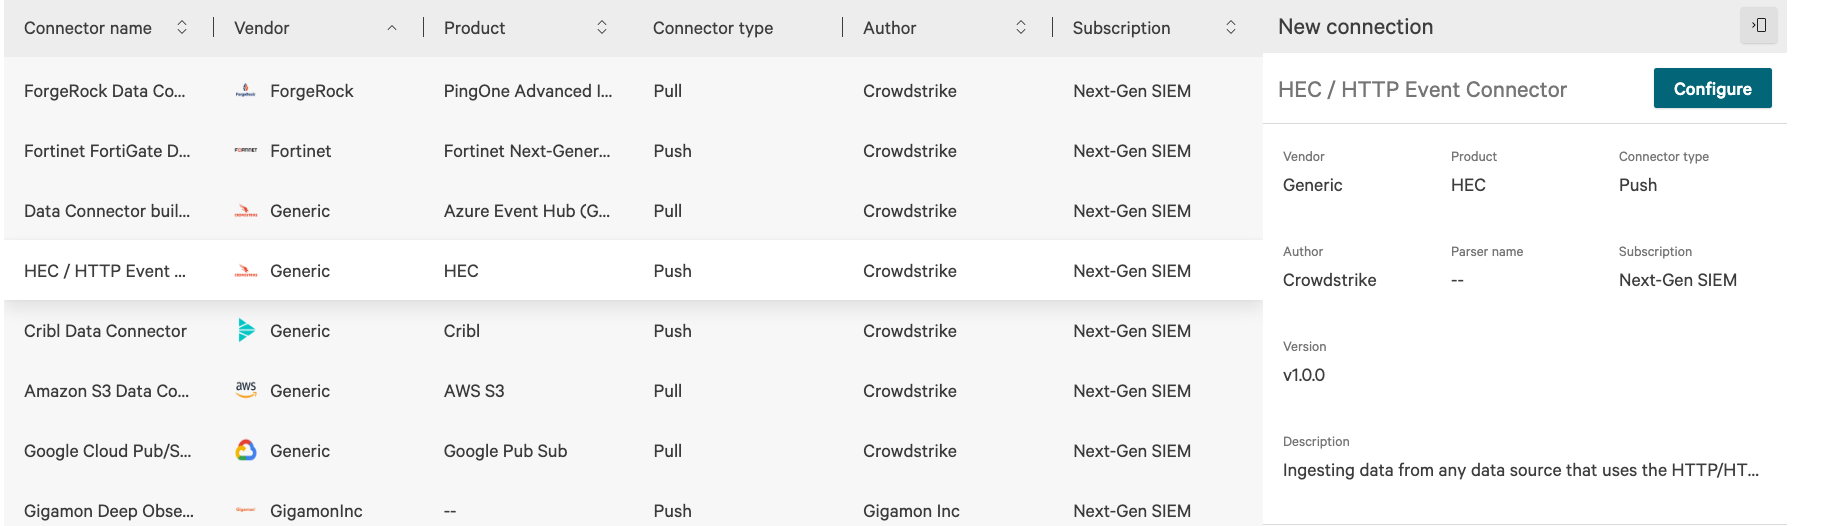
Select Configure on the right.
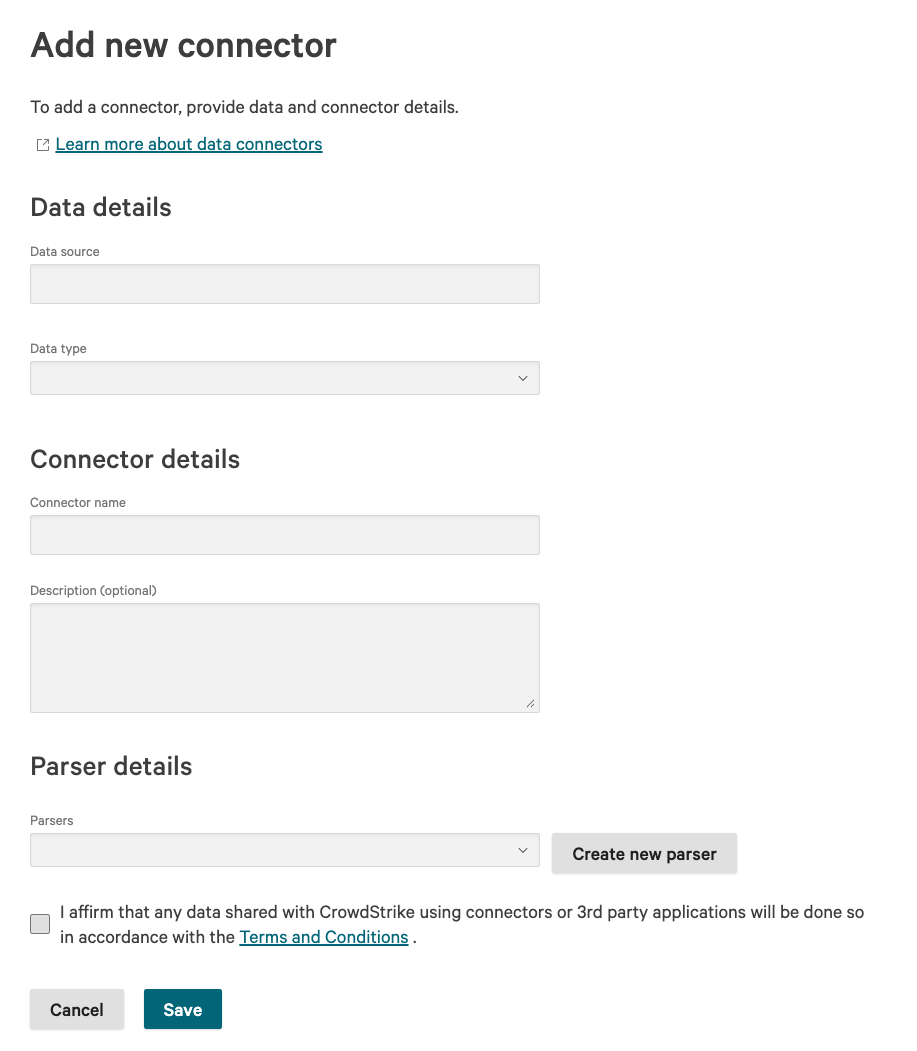
Provide the following details on the Add new connector panel:
- For Data Source type a descriptive name for your data source, for example
Nametag. - For Data Type select JSON from the dropdown list.
- For Connector Name type a descriptive name for your connector, for example
Nametag Connector. - For Parser details choose or create a parser. It must include
parseJson(field=@rawstring) | @timestamp := ts.
Select Save and wait for the Connector setup in progress dialog to finish.
Get a CrowdStrike API key
Select Generate API Key at the top right of the Connector configuration page.
Copy both the API Key and API URL that are displayed. These values are needed to configure the Nametag webhook.
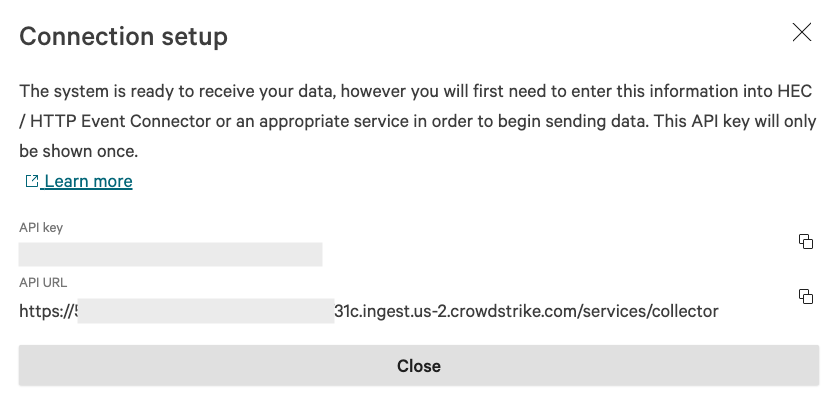
Note: Ensure that your API URL endpoint ends with
/services/collector
Configure Nametag
The next step is to configure Nametag to send events to CrowdStrike using the collector we just built.
Go to the Nametag console and select Configure.
Select Webhooks from the left menu and select Add a Webhook.

Configure the webhook:
- Select the Enabled toggle.
- For Delivery URL, provide the CrowdStrike
*API_URL*you saved earlier. - For Authorization Header, provide
BEARER *API_KEY*where*API_KEY*is the CrowdStrike API key you saved earlier. Example:BEARER 14935FMGNWLGJJT385. - For Events, enable the events that are most relevant to you. For the most complete coverage of Nametag events, enable Audit events.
- Select Save configuration.
Testing and logging
To verify that data is being sent to CrowdStrike, create an interactive verification.
-
Go to the Nametag console and select Verifications.
-
Select New Verification
-
When the verification link is generated, dismiss the dialog.
-
Go to Configure and Webhooks.
-
Check the Recent deliveries section for a record of a webhook being delivered to CrowdStrike.