Configuring SAML SSO to Nametag with Okta
Enable access to Nametag using corporate Okta credentials
This guide will walk you through the steps to configure SAML SSO to Nametag with Okta.
Prerequisites
To configure Nametag for single sign on with Okta, you must have:
- An Okta account and be an administrator.
- A Nametag organization and an account with the Owner role.
Initial setup
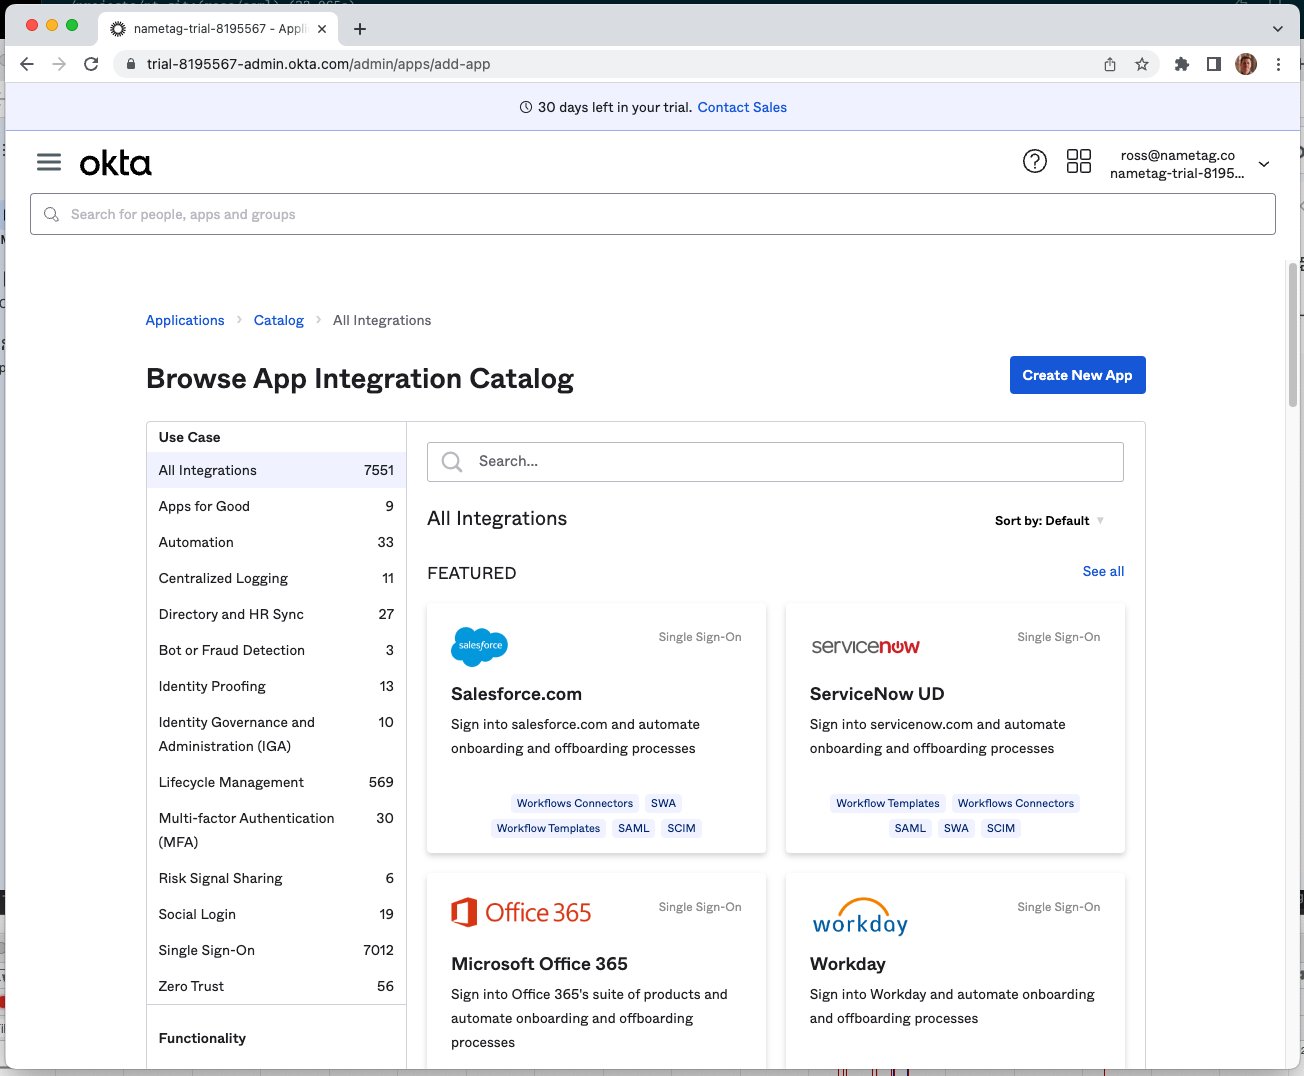
In Okta, go to the Applications tab and select Create App Integration.
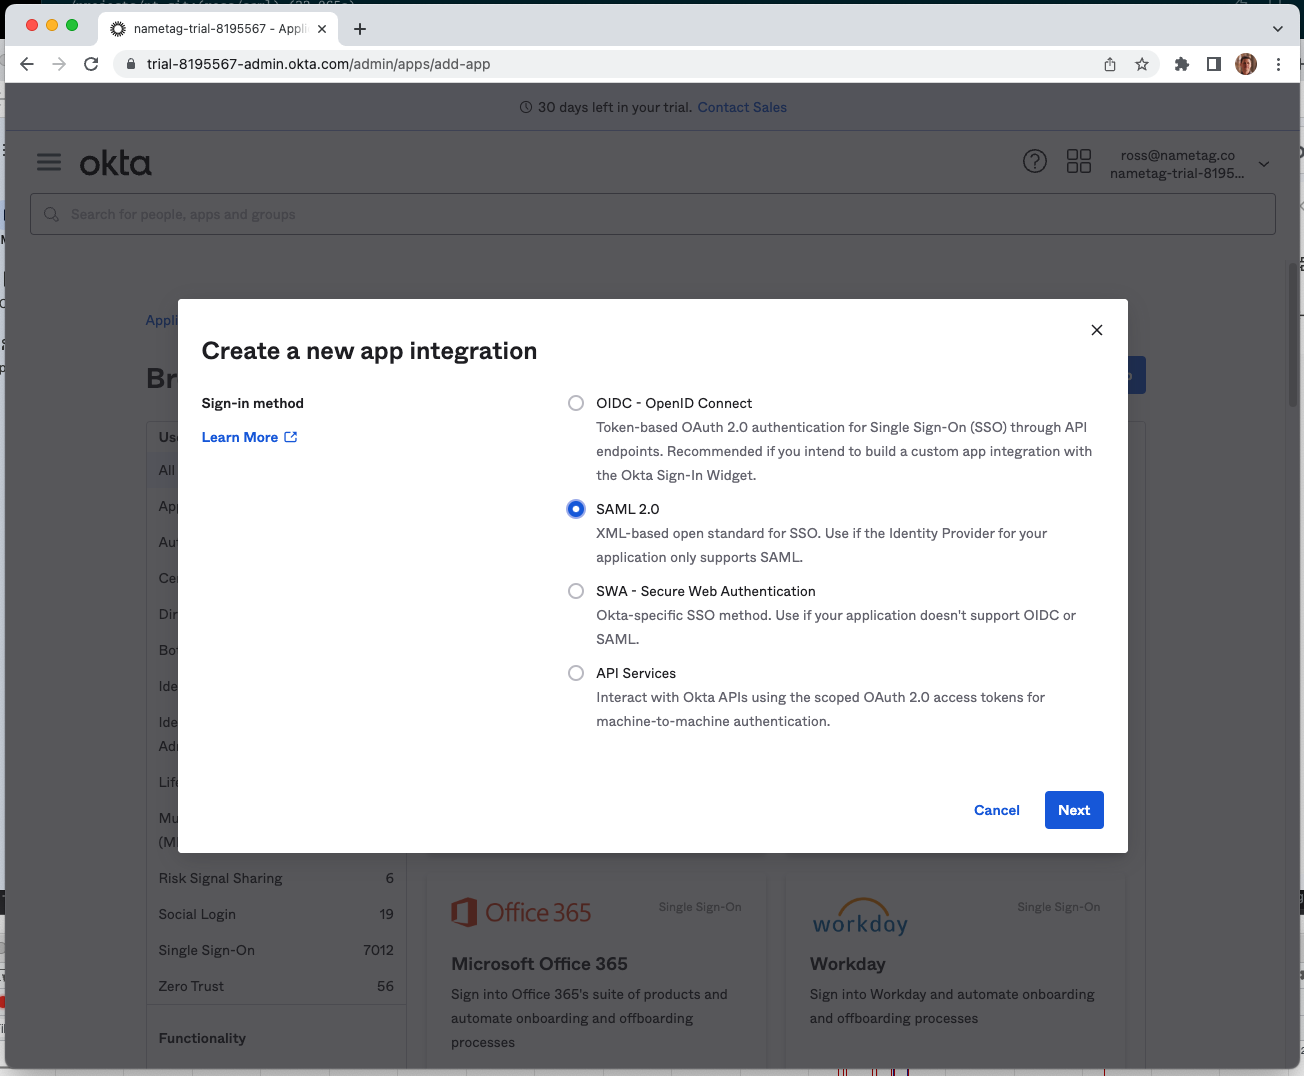
Choose SAML 2.0 and select Next.
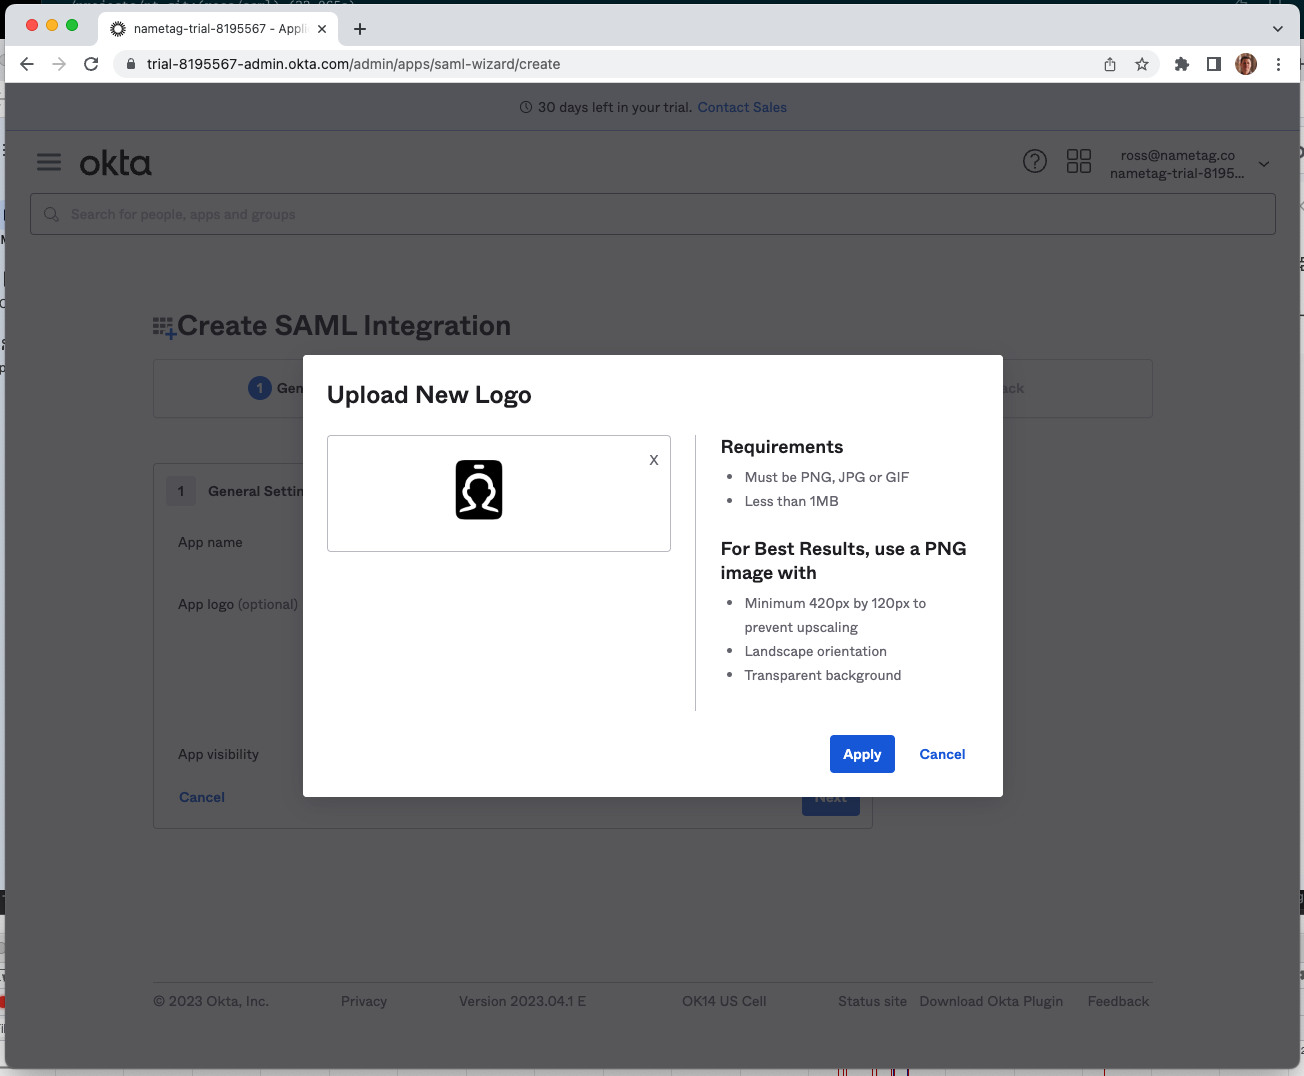
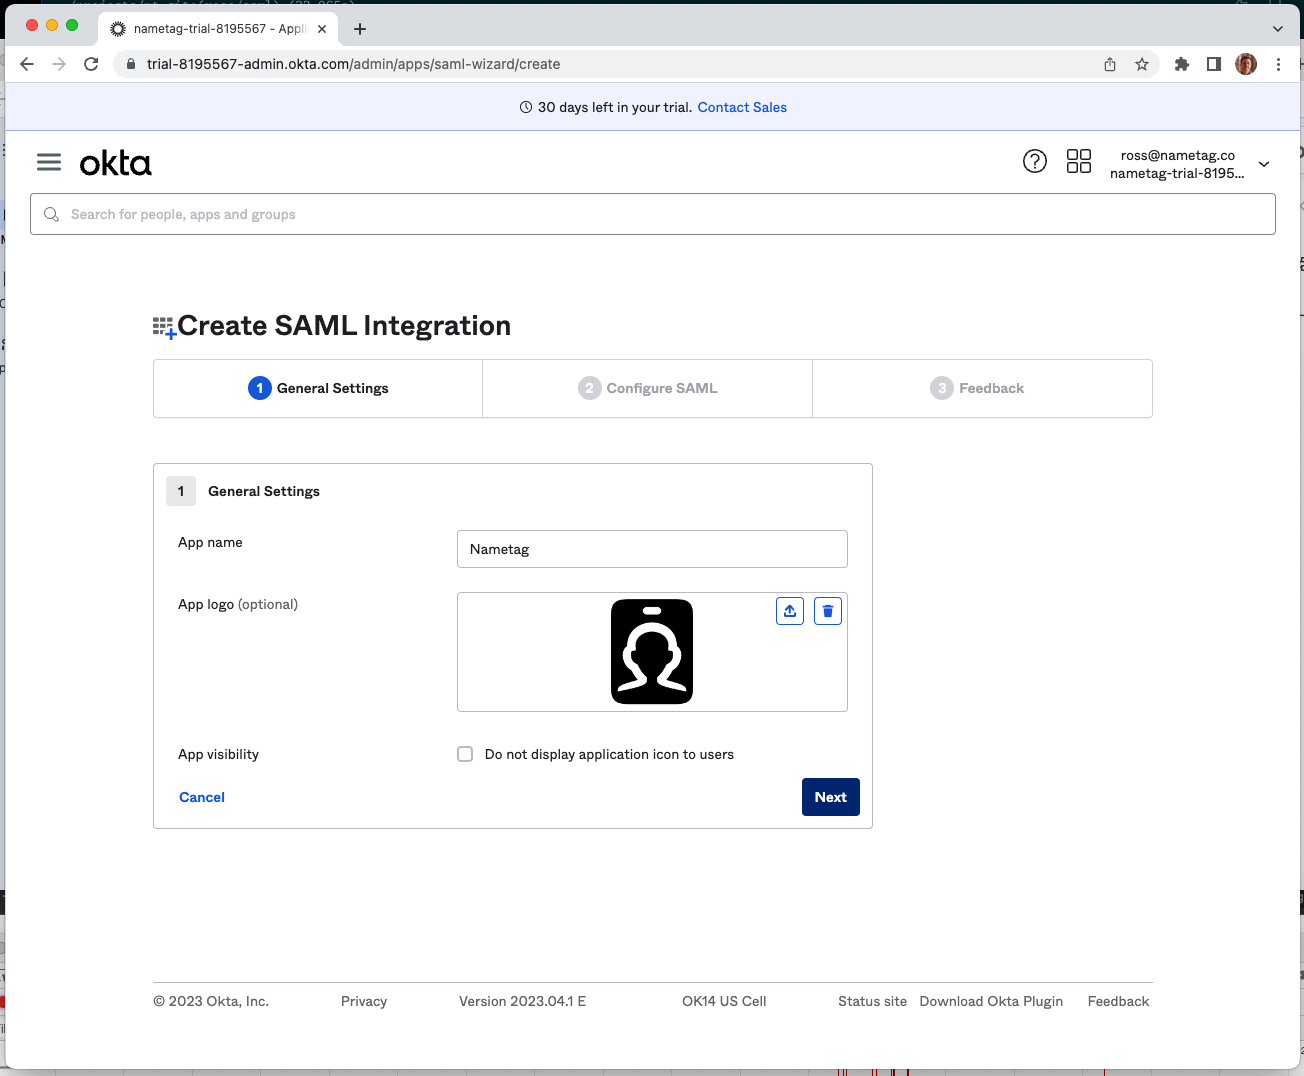
Enter Nametag for App name and download the Nametag logo from https://nametag.co/logos/console.png and upload it to Okta.
Select next to move to the Configure SAML tab.
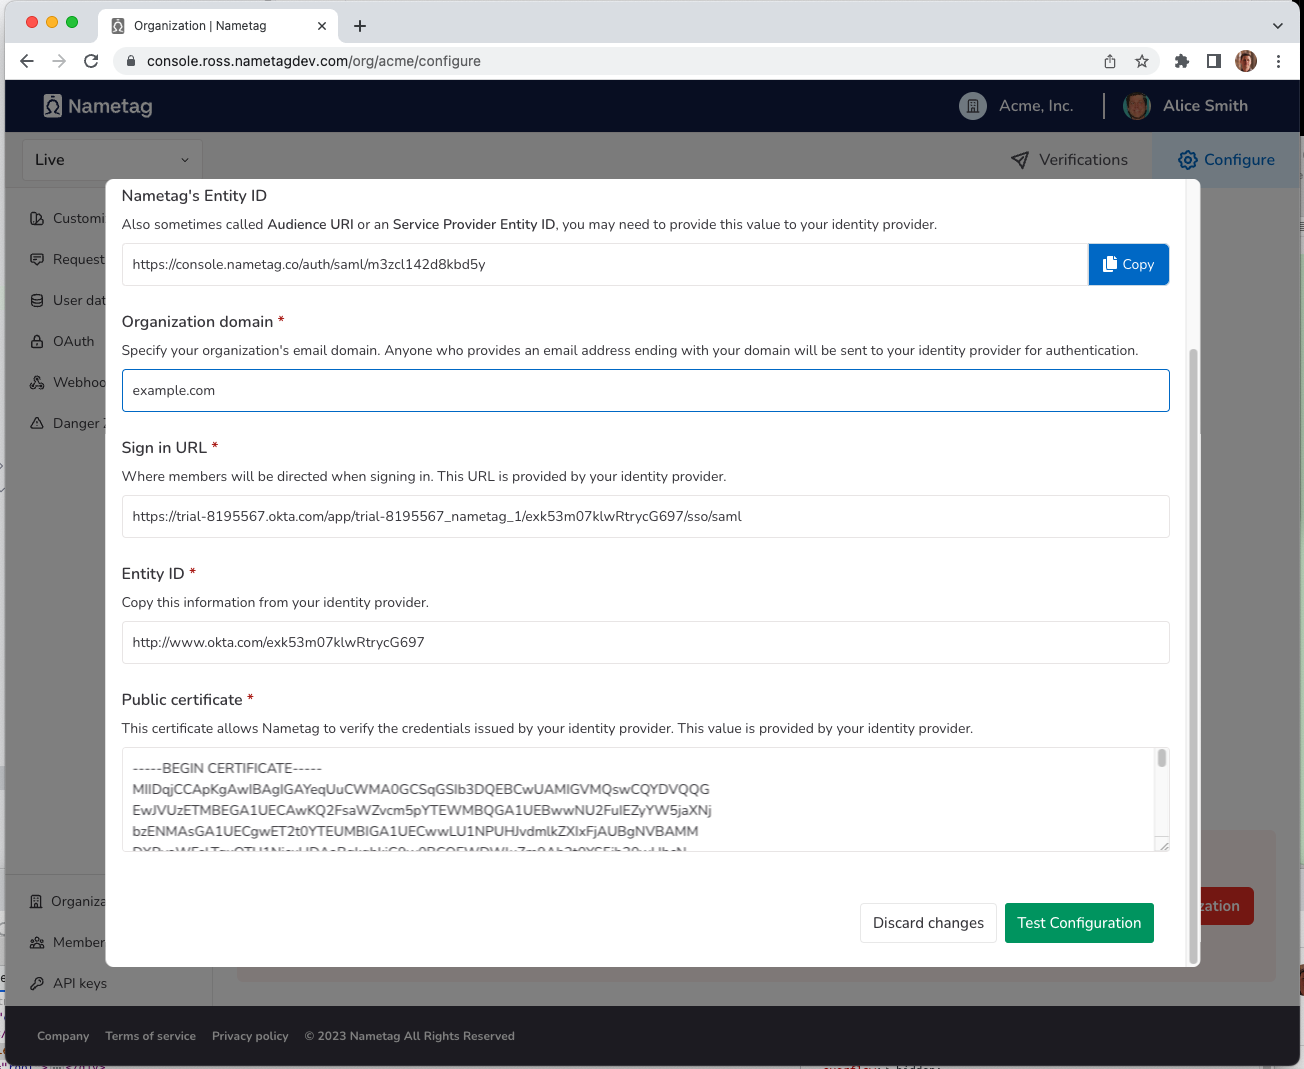
Gathering information from Nametag
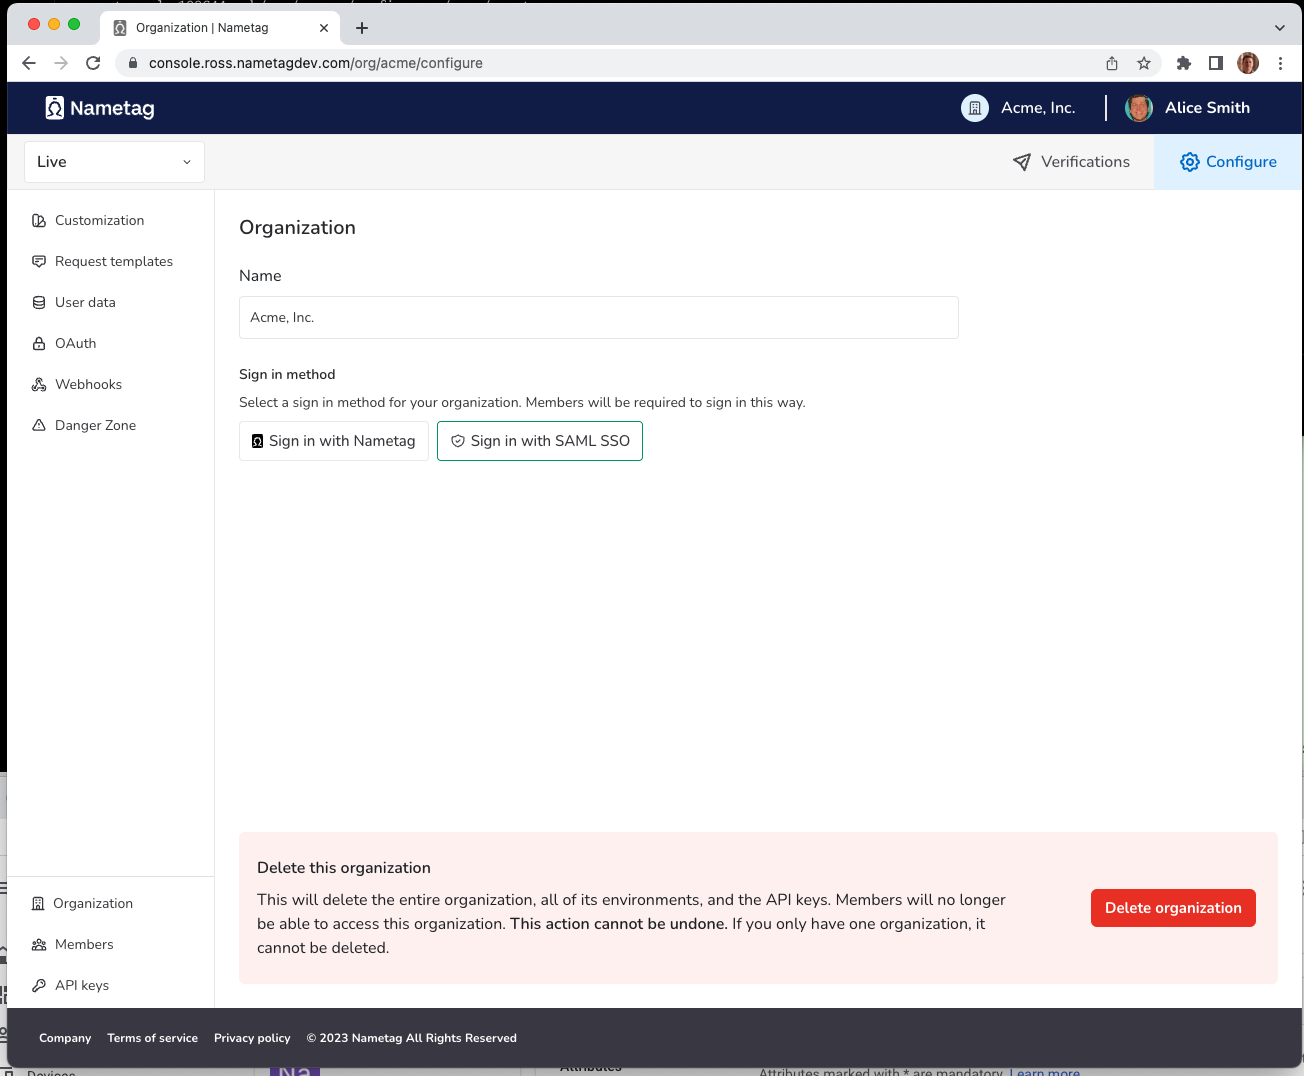
In Nametag, select Configure, then Organization and choose Sign in with SAML SSO.
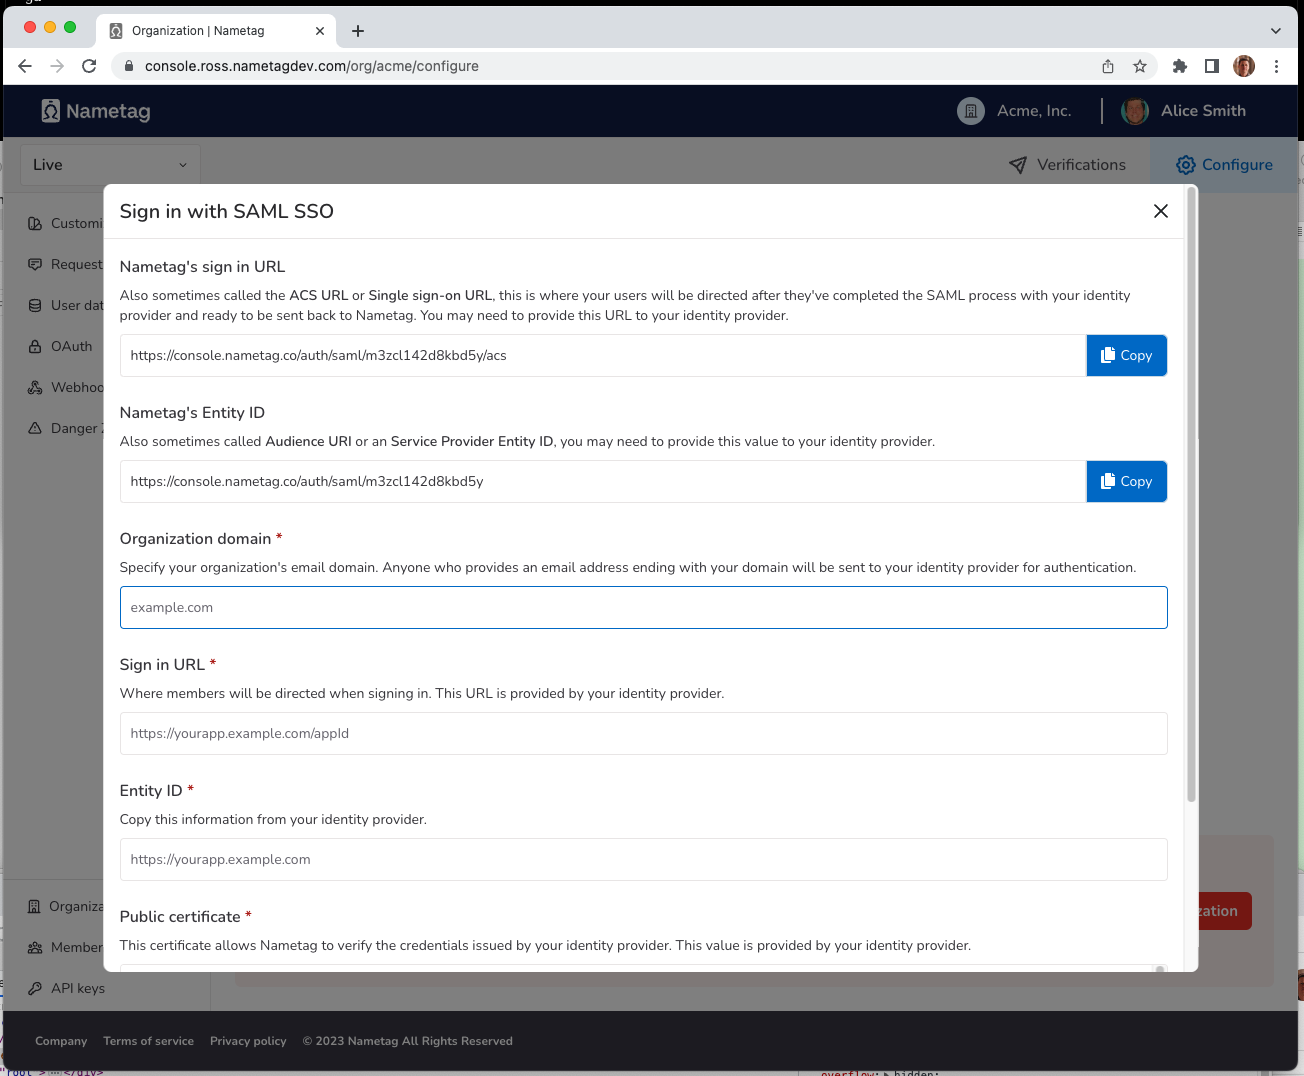
Copy the following values from Nametag to the Okta console:
- Copy Nametag sign in URL and paste it into the Single sign-on URL field in Okta.
- Copy the value for Nametag Entity ID and paste it into the Audience URI field in Okta.
Configuring Okta
In the Okta Configure SAML tab, select the following:
-
Leave Default RelayState blank.
-
Select EmailAddress for the Name ID Format.
-
Select Email for the Application username.
-
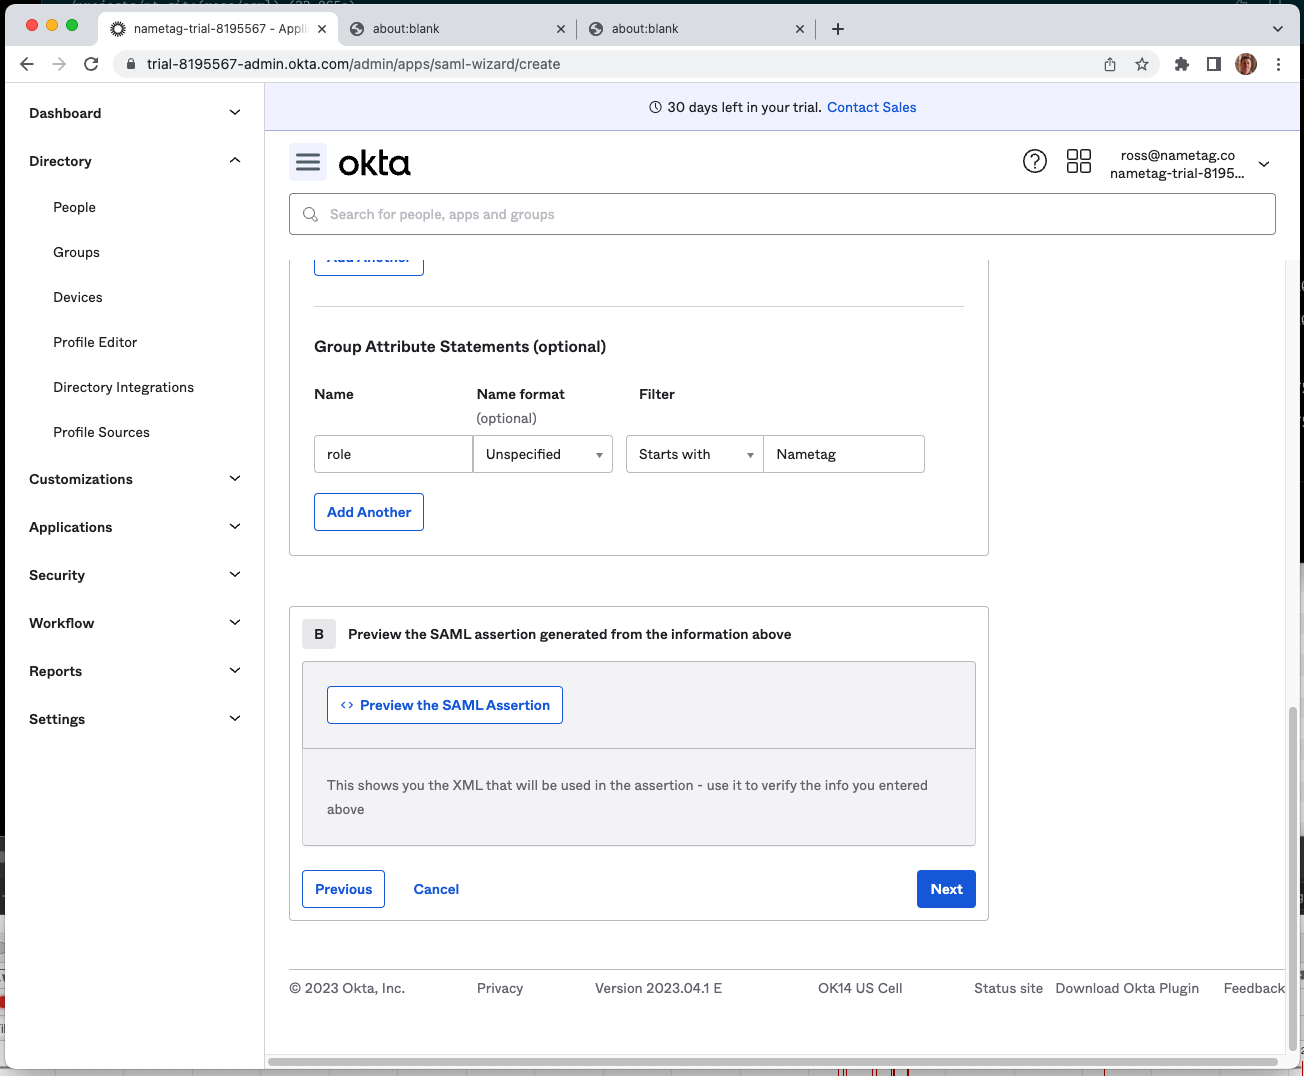
(Optional) In Attribute Statements, add the following:
Name Name Format Value firstNameBasic user.firstNamelastNameBasic user.lastName -
In Group Attribute Statements section, select Add Another and enter the following values:
Name Name Format Value groupBasic starts with Nametag
Tap Next to move to the Feedback tab. Complete the Feedback form and select Finish.
Gathering information from Okta
In Okta, go to the Sign On tab. Under SAML 2.0, expand More details.
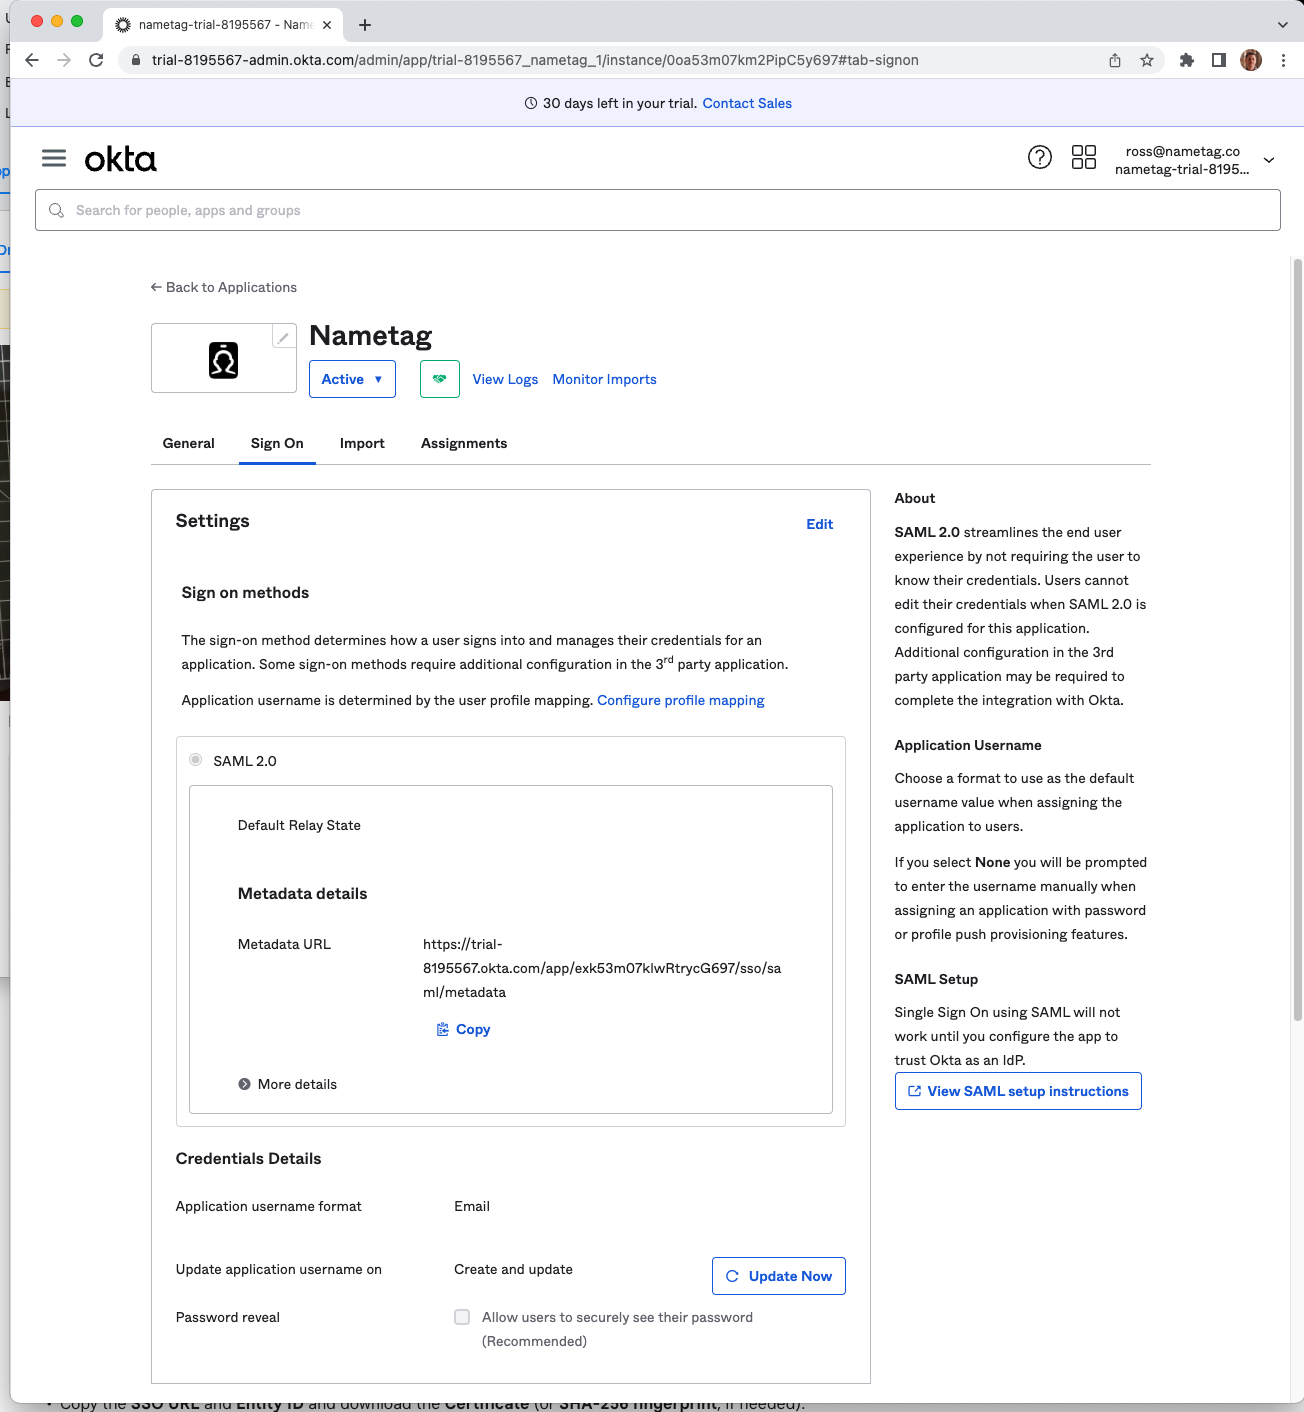
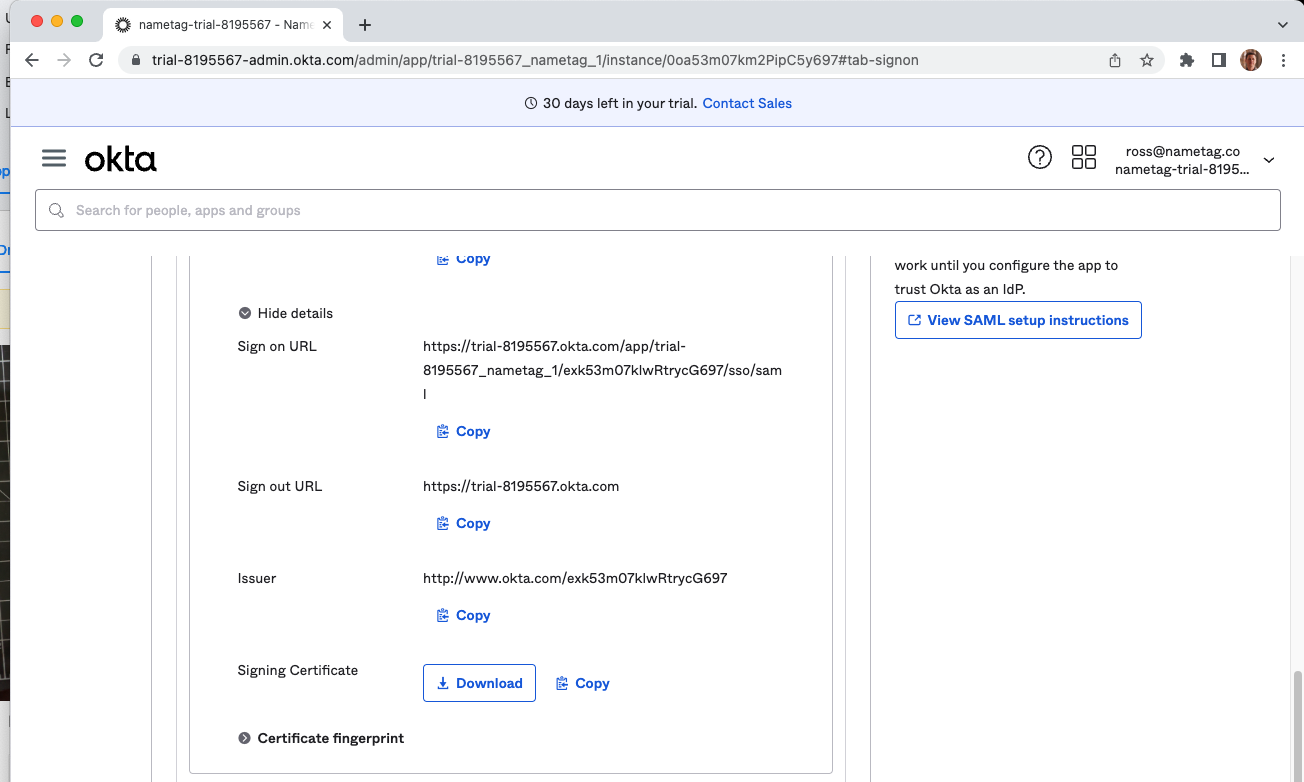
Copy the following values from the Okta console to Nametag:
-
Copy the Sign on URL value from Okta and paste it into the Sign in URL field in Nametag.
-
Copy the Issuer value from Okta and paste it into the Entity ID field in Nametag.
-
Copy the Signing Certificate value from Okta and paste it into the Identity provider certificate field in Nametag.
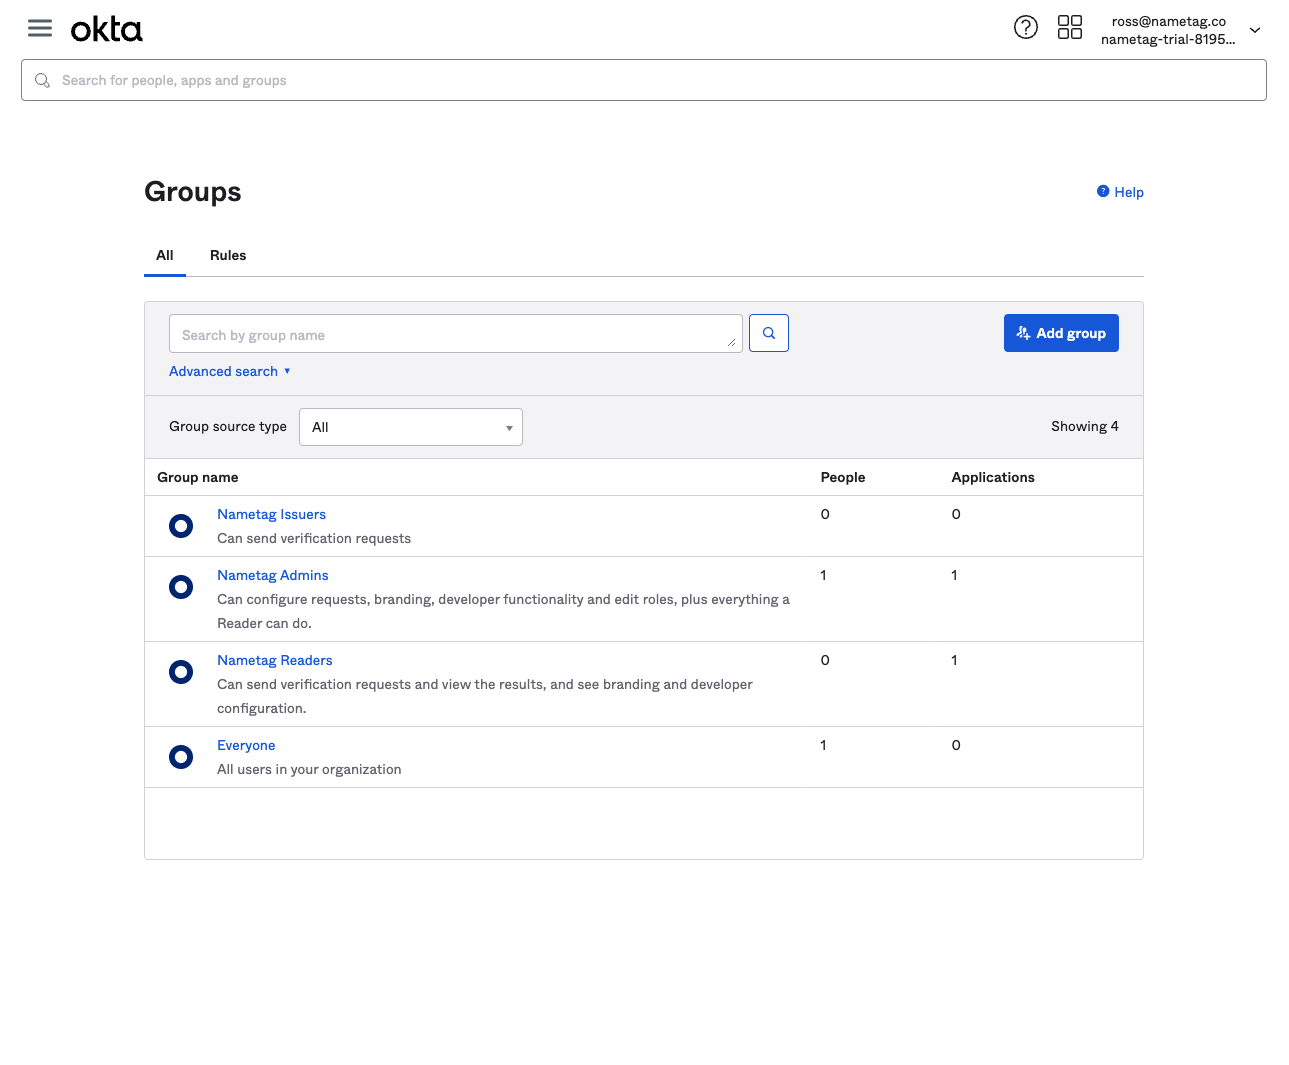
Create groups in Okta for each Nametag role
In Okta, go to Directory, then Groups and create a group for each role in Nametag:
| Nametag Role | Okta Group Name | Description | |
|---|---|---|---|
| Owner | Nametag Owners | Full access to the organization, all environments, and their configuration | |
| Admin | Nametag Admins | Full access to their environments and their configuration | |
| User | Nametag Users | Access to all requests and detailed results in their environments | |
| Limited | Nametag Limited | Access to only their own requests and simplified results in their environments |
Pro-tip: This would be a good time to add yourself to the Nametag Owners group.
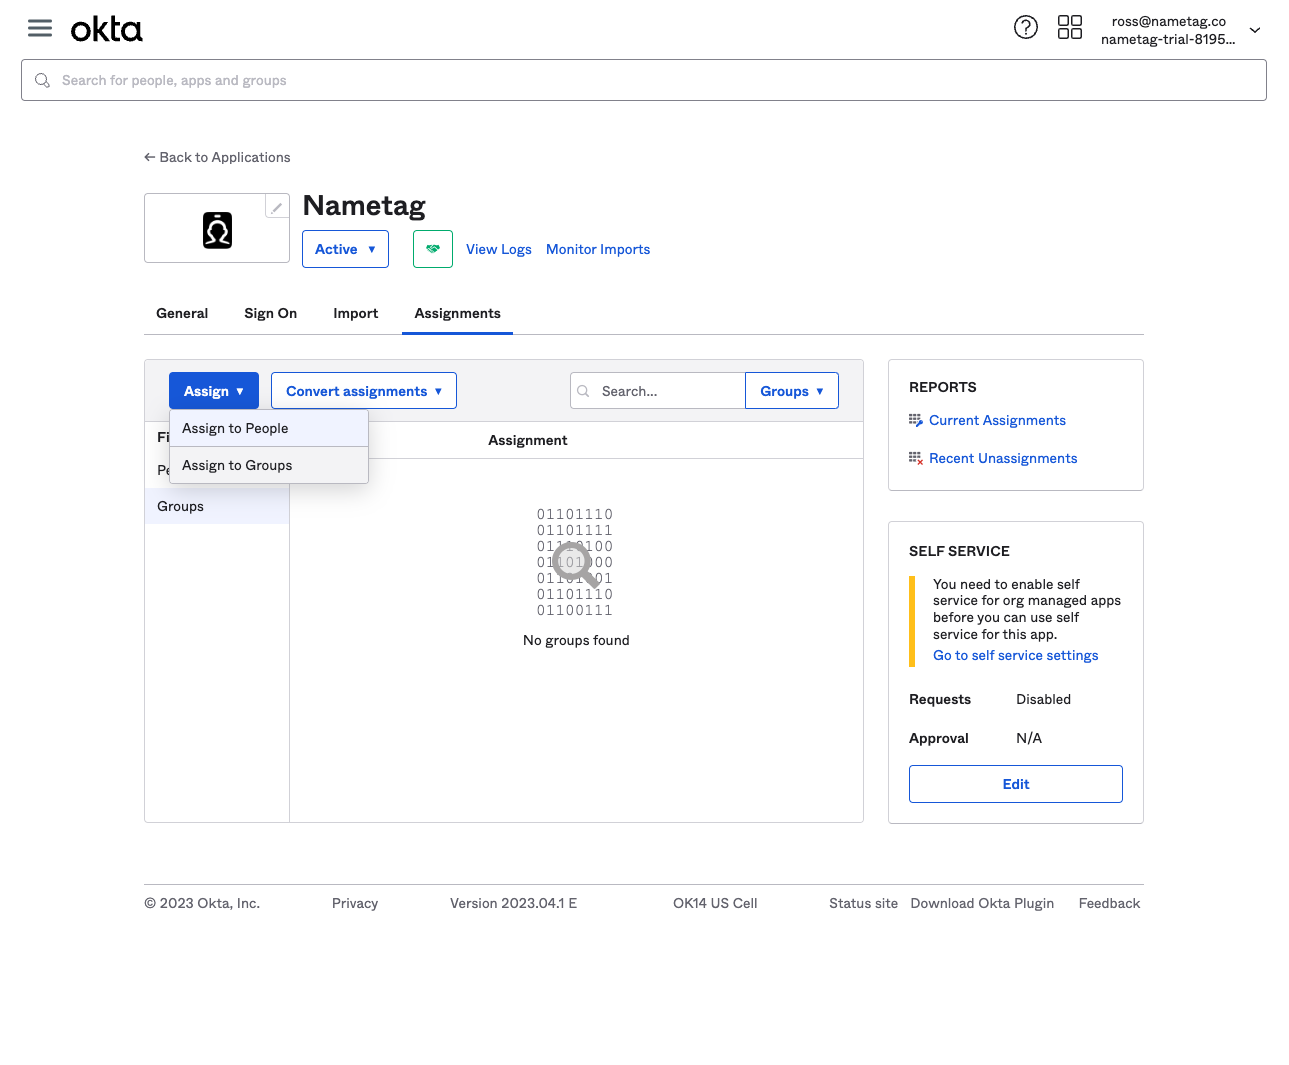
Go back to Applications, select the Nametag app, and select Assignments tab. From there, select the Assign dropdown list and choose Assign to Groups.
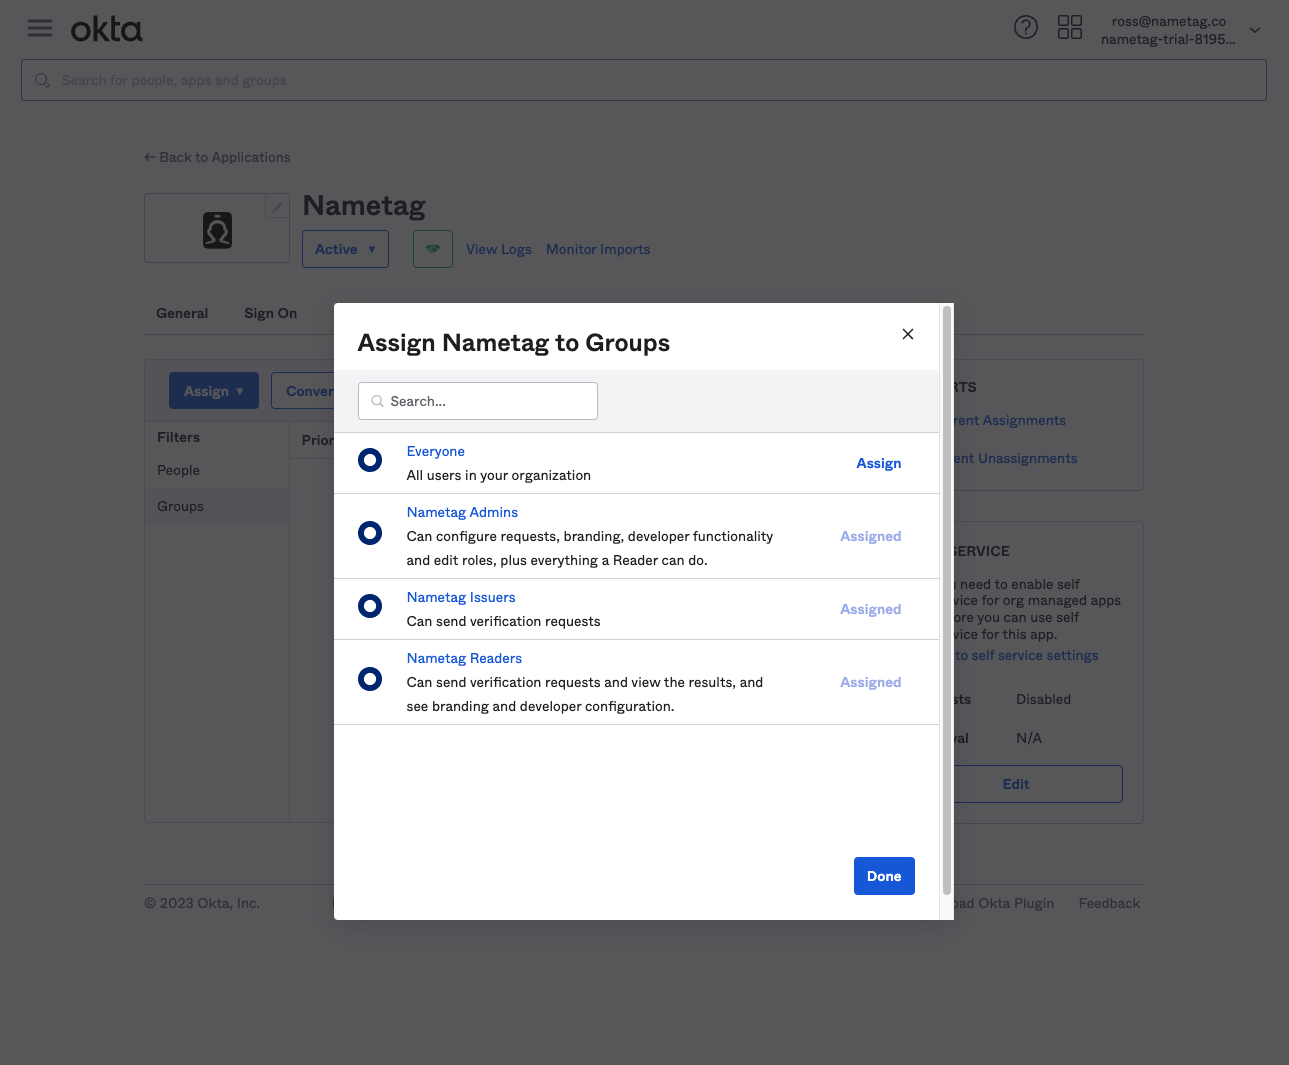
For each of the Nametag groups you created, select Assign and then select Done.
Test the configuration
Back in Nametag, select Test Configuration.
You will be prompted to sign in to Okta, if needed, and then be sent back to Nametag. When prompted, press Save this sign-in method.
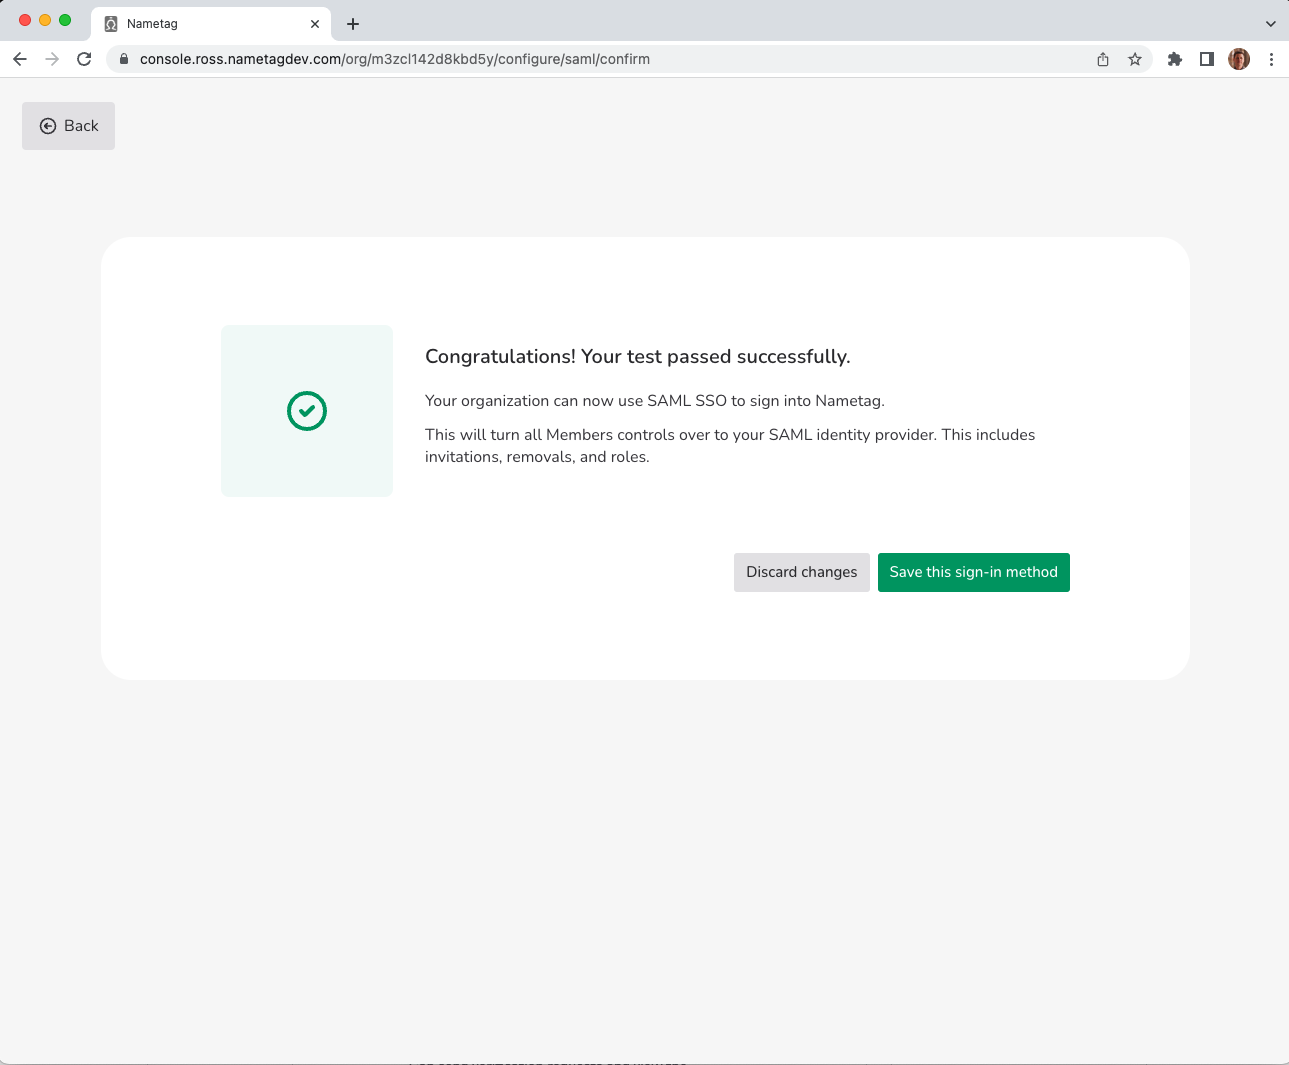
Congratulations! You have successfully configured SAML SSO to Nametag with Okta.