Nametag Integration for ServiceNow
Overview
The Nametag Identity Verification App allows help desk agents to securely verify a user’s identity directly from Incident and Interaction records in ServiceNow before performing high-risk actions such as password resets, MFA recovery, or profile updates.
By integrating Nametag with ServiceNow, organizations can:
- Prevent social engineering by verifying the true identity of the requester
- Enhance ITSM security with minimal disruption to existing workflows
Verification is initiated when a help desk agent clicks “Nametag Verification” on a record.
Nametag handles:
- Creating the verification request
- Generating the verification link
- Collecting identity data from the end user
ServiceNow:
- Creates and manages a Nametag Verification record
- Stores verification details and status updates
- Retrieves verification status updates in the background while verification is in progress
- Makes verification results available from the associated Incident or Interaction record
Nametag uses a dedicated ServiceNow request template, which asks the end user to share their legal name from a government-issued ID and GPS location.
Prerequisites
Before setting up the integration, ensure you have:
- An active Nametag account
- Admin permissions in ServiceNow
- A ServiceNow instance running Tokyo or later (Yokohama and Zurich are also supported)
Setup
This setup involves:
- Creating an integration in Nametag
- Configuring credentials and integration settings in ServiceNow
Step 1: Install the Application in ServiceNow
-
Go to the ServiceNow Store
-
Search for Nametag Identity Verification.
-
Install the app into your instance.
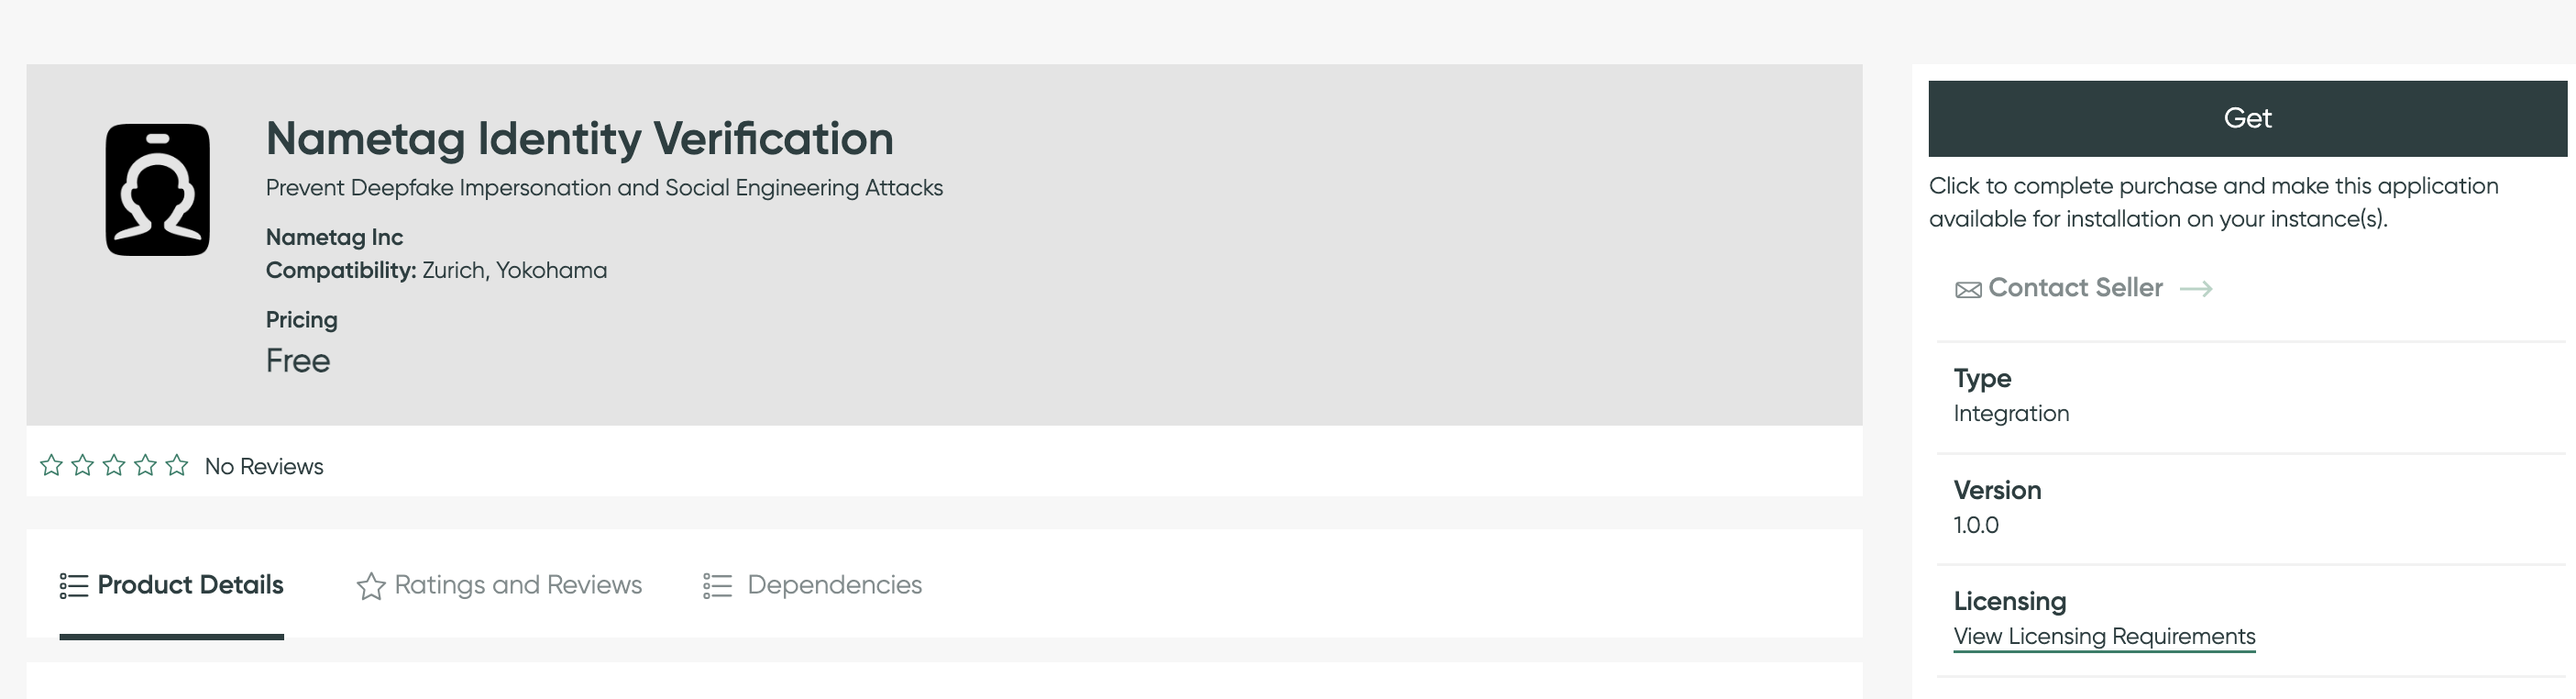
ServiceNow install page -
Confirm the application scope is
x_namet_nametag_se.
Note: If you are upgrading from a previous version of the ServiceNow integration, you will need to create a new ServiceNow integration in the Nametag Console and update your ServiceNow configuration to use the new integration.
Step 2: Create Integration in Nametag
- In the Nametag Console, go to Configure.
- In the left sidebar, select Integrations.
- Select Add Integration and choose ServiceNow.
- Select Create Integration.
After creating the integration, Nametag will automatically generate the required credentials.
All required values will be displayed on the same page, including:
- Environment ID — used in ServiceNow Nametag Integration Settings
- API Key — used in ServiceNow Connection & Credential Alias
- Connection URL — used in ServiceNow Connection & Credential Alias
You will use these values in the next step.
Step 3: Configure Connection & Credential Alias in ServiceNow
- Go to Connections & Credentials → Connection & Credential Aliases
- Open the alias:
- Name:
NametagAPI - ID:
x_namet_nametag_se.NametagAPI
- Name:
If no connection exists (first-time setup):
-
Select Create New Connection & Credential
-
Enter:
-
Under Connections:
- Connection Name:
NametagAPI - Connection URL:
https://nametag.co
- Connection Name:
-
Under Credentials:
- Type: API Key Credentials
- API Key: (paste the API Key from Nametag)
-
-
Select Create
Else (a connection already exists):
-
Under Connections:
- Select the connection name
- Update the Connection URL if needed
-
Under Credentials:
- Select the credential
- Update the API Key if needed
- Select Update to save the alias
Step 4: Configure integration settings in ServiceNow
- Go to Nametag Identity Verification → Nametag Integration Settings.
- Open the existing record or create a new one.
Only one settings record is supported.
- Configure the following fields:
| Field | Description |
|---|---|
| Environment ID | The Environment ID from the Nametag Console |
| Enable Verification UI Action | Enables the Nametag Verification action on Incident and Interaction records |
Test integration
- Open the Nametag Integration Settings record
- Select Test Integration
This will:
- Verify connectivity to the Nametag API
- Validate authentication using the configured Connection & Credential Alias
- Return a success or error message in ServiceNow
This test does not create a verification request and has no side effects.
Step 5: Assign Roles in ServiceNow
Admin role
- Go to System Security → Users and Groups → Users.
- Select the user you want to have the Nametag app administrator access.
- Go to Roles → Edit.
- Assign
x_namet_nametag_se.adminrole. - Select Update.
Agent role
- Go to System Security → Users and Groups → Users.
- Select the user you want to have the Nametag app agent access.
- Go to Roles → Edit.
- Assign the
x_namet_nametag_se.agentrole - Select Update.
| Role | Description |
|---|---|
x_namet_nametag_se.agent |
This role enables agents to see Nametag Verification option and have the ability to add the new Nametag UI Action fields in the incident ticket. |
x_namet_nametag_se.admin |
This role will enable users to configure the API credentials in the Connection & Credential Alias, along with the associated Nametag Integration Settings. |
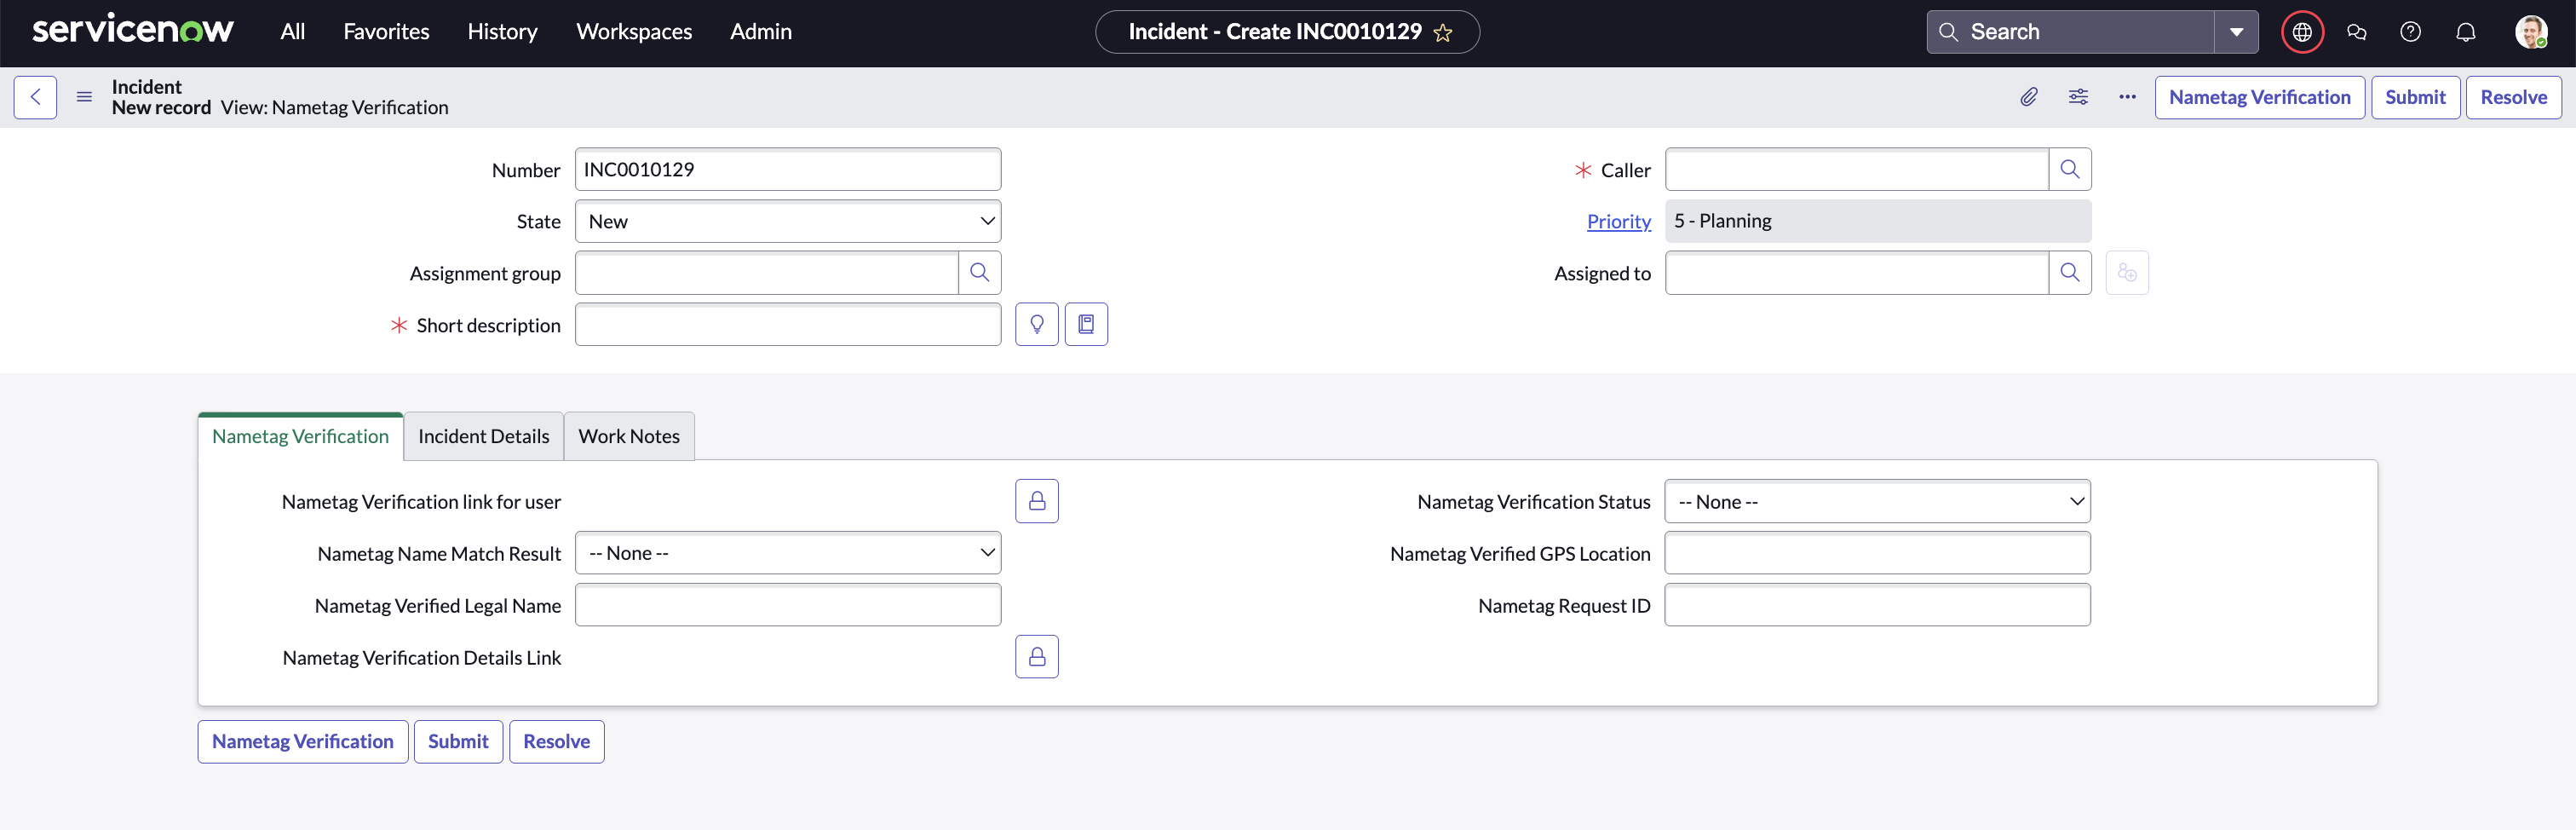
Step 6: Using Nametag Fields in ServiceNow
Verification data is stored in a dedicated Nametag Verification record and displayed on Incident and Interaction records through related fields. This record contains verification details and status information returned by Nametag.
While verification is in progress, status updates are retrieved asynchronously. To view the latest verification status and results, agents need to select Refresh Nametag Status.
Default Nametag experience (recommended)
The integration includes the following out-of-the-box components:
-
A preconfigured Nametag Verification view This view displays all Nametag-related fields in a dedicated layout, allowing agents to access verification data without modifying the default Incident or Interaction forms.
-
Dedicated navigation modules:
- Nametag Incidents
- Nametag Interactions
These modules serve as entry points into the Nametag workflow. When accessing records through them, the Nametag Verification view is automatically applied, ensuring a consistent and optimized experience for working with verification data.
Optional: Customize your experience
Administrators can customize how Nametag fields are displayed.
For both Incident and Interaction:
- Open a record
- Right-click on the form → Configure → Form Builder.
- Modify the existing view or create a new view.
- Search for Nametag Verification.
- Under Nametag Verification, select Add a related field.
- Choose the Nametag fields you want to display from the related Nametag Verification record.
Recommended related fields:
| Field | Description |
|---|---|
| Nametag Verification Link for User | Link shared with the end user |
| Nametag Verification Status | The current verification result |
| Nametag Verified Legal Name | Legal name from the identity document |
| Nametag Name Match Result | Whether the record user matches the verified identity |
| Nametag Verified GPS Location | GPS location captured during verification |
| Nametag Verification Details Link | Link to verification details in Nametag |
| Nametag Request ID | Unique identifier for the verification request |
Verification flow
After the integration is configured, identity verification is triggered when a help desk agent clicks Nametag Verification on an Incident or Interaction record.
- Open or Create an Incident or Interaction record in ServiceNow
- Select Nametag Verification
- A verification link is generated and appears in the Nametag Verification Link for User field
- Copy the link and send it to the end user
- The end user completes identity verification in Nametag
- Verification status is updated in the background and stored on the associated Nametag Verification record.
- Select Refresh Nametag Status to refresh the Incident or Interaction record after a few seconds to view the latest verification status.
- The associated Nametag Verification record is updated with:
- Verification status
- Verified legal name
- Name match result
- Verified GPS location
During the process, the Nametag Verification Status field may change to:
- In progress
- Review in progress
- Verified
- Fraud confirmed
- Could not verify
Manually refreshing verification status
Verification status is updated in the background and displayed on the related Nametag Verification record. If you want to retrieve the latest status on demand, agents can use the Refresh Nametag Status action.
This action appears on existing Incident and Interaction records when:
- The record has been saved (not a new record)
- The agent has the
x_namet_nametag_se.agentrole and verification is enabled
To refresh:
- Open the Incident or Interaction record
- Select Refresh Nametag Status
- The status refresh is queued — refresh the record in a few seconds to see the latest status
Managing your integration
Rotate the API key
If your API Key is compromised or needs to be replaced, you can rotate it from the Nametag Console:
- In the Nametag Console, go to Configure → Integrations and select the ServiceNow integration from the list.
- Select Rotate API Key.
- Copy the new API Key — it will only be shown once.
- In ServiceNow, update the API Key in your NametagAPI Connection & Credential Alias.
Rotating the key immediately invalidates the old one. Any verification requests made before you update ServiceNow will fail until the new key is in place.
Removing the integration
You can disconnect the ServiceNow integration at any time from the Nametag Console.
To remove the integration:
- In the Nametag Console, go to Configure → Integrations and select the ServiceNow integration from the list.
- Select Remove.
Once removed:
- The API Key is invalidated and can no longer be used to make requests
- The Nametag Verification in ServiceNow will stop working