
Self-service account recovery administrator's guide
Configure self-service password and MFA reset for workforce using Nametag Autopilot
Nametag self-service account recovery solution enables employees to quickly and securely recover their Okta, Entra ID, Cisco Duo, and OneLogin accounts without needing to involve help desk resources. This gives employees a portal through which they verify their identity and then can reset their own passwords or multifactor authentication (MFA).
Connect a directory to Nametag
Each directory provider’s integration has a slightly different configuration. You can jump to your specific provider using these links:
There is one setting that applies to all directory providers, and that’s self-service permissions. These permissions determine which actions your users can take once they have verified their identity with Nametag.
Configure self-service permissions
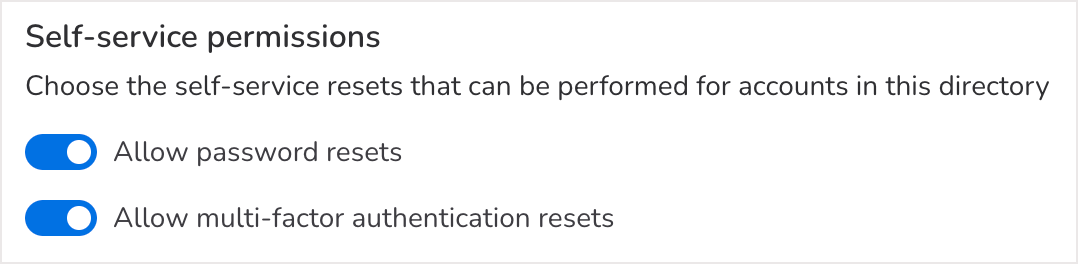
Every directory integration has self-service permissions for the directory members. These permissions determine which actions they are allowed to take when visiting the company microsite.
Depending on the provider, administrators can allow none, one, or both of the following:
- Reset a password
- Reset multifactor authentication devices
Resetting a password will generate a temporary password directly inside Nametag (or link you to a directory page where you can set a new password) which can be used to sign in. This applies to new accounts, where the person is setting their own first temporary password using Nametag, and existing accounts where the password has been lost or forgotten.
Resetting multifactor authentication devices will remove all the devices, tokens, apps, etc. that have been associated with that account. This includes things like phone numbers set up for SMS messaging, authenticator apps, physical keys, passkeys, and all other multifactor authentication methods. The user will re-establish these devices when they sign in to their account using only the primary sign-in method (usually a password).
Integrating with specific directories
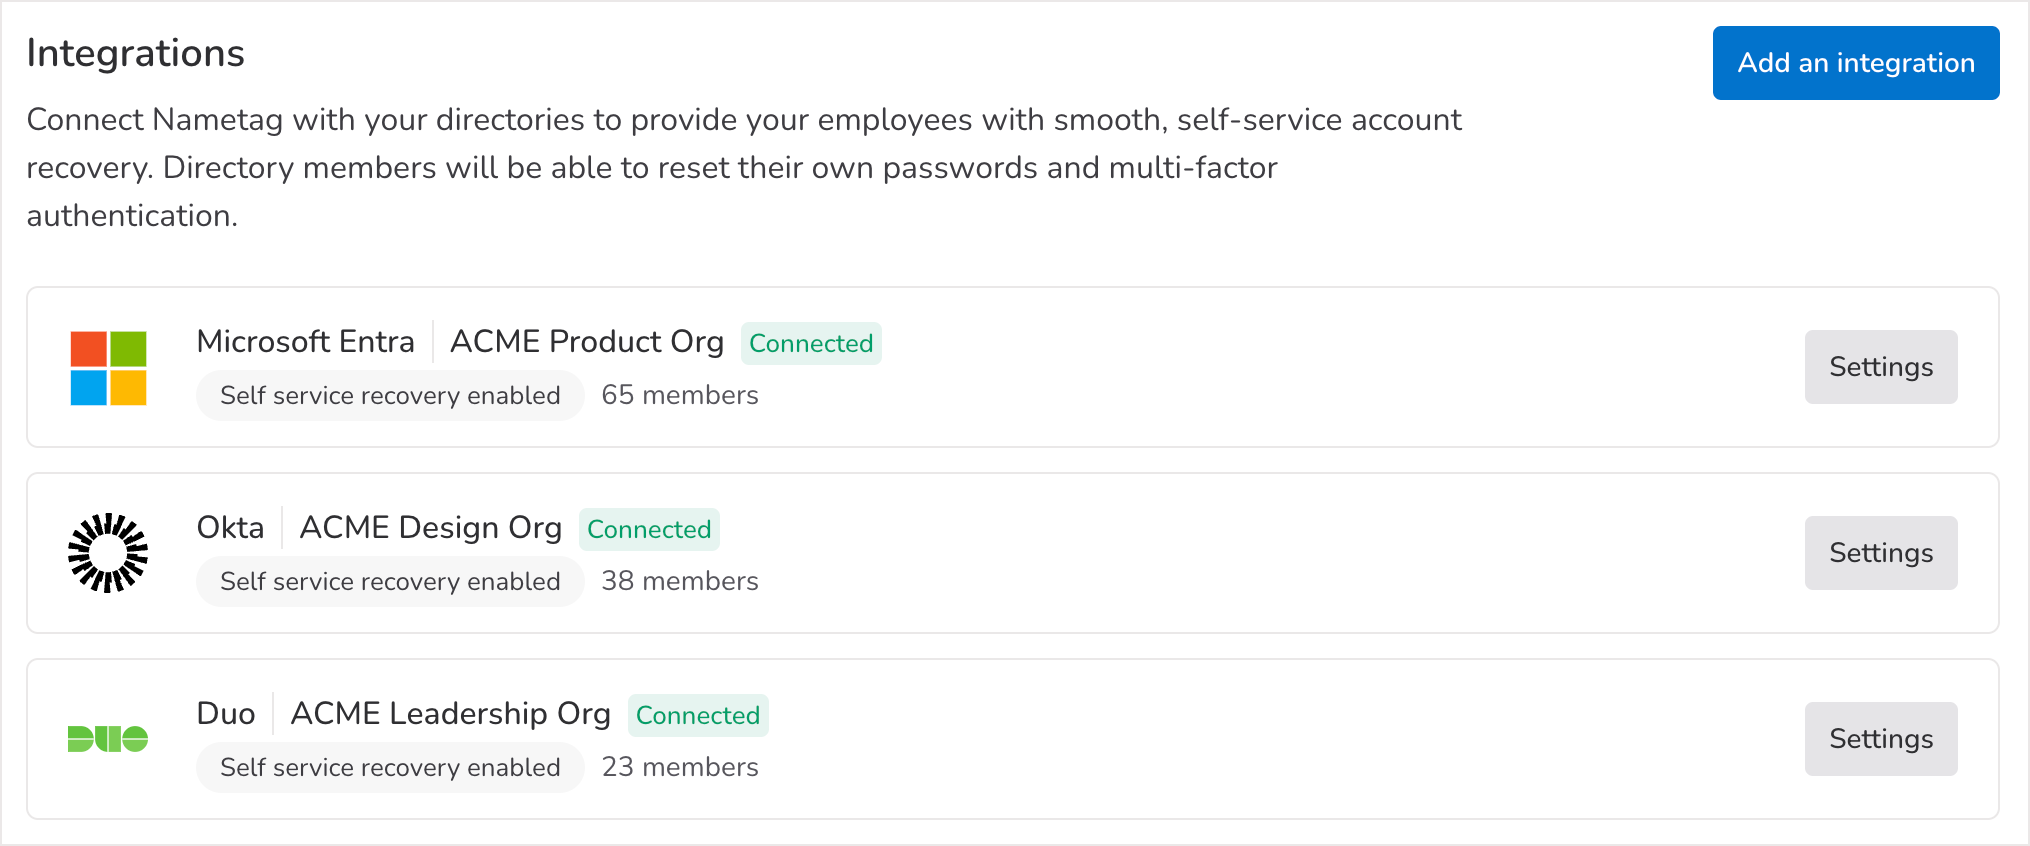
Review all of your integrations at a glance to quickly see the total number of members in each directory and the sync status of the integration. You’ll also see the self-service recovery status, which indicates whether or not people are able to reset their own passwords and/or multifactor authentication devices.
Each directory has its own connection guide. Configure self-service permissions first, then follow the guide for your provider:
Connect to Entra ID
See Entra ID account recovery for the full connection guide, including the dedicated service account, required Microsoft Graph delegated permissions, and password resets in hybrid Entra ID environments.
Connect to Okta
See Okta account recovery for the full connection guide, including gathering the Okta Domain, Client ID, and Client Secret and configuring Nametag.
Provisioning method: By default, Nametag pulls accounts from Okta on a schedule. If you’d rather have Okta push accounts to Nametag in real time over SCIM, see SCIM provisioning in conjunction with the Okta connection guide.
Connect to Cisco Duo
See Cisco Duo account recovery for the full connection guide, including gathering the integration key, secret key, and API host name from the Duo Admin API.
Connect to OneLogin
See OneLogin account recovery for the full connection guide, including creating API credentials with Manage all permissions and connecting your OneLogin host.
Configure integration settings
Select Settings for any integration to edit self-service permissions, manually update the sync, or remove an active integration.
Updating the synchronization between Nametag and a directory

The sync status tells you whether or not the integration is successfully connected. If the connection is severed, you’ll see the status update automatically to reflect that the integration is not working. Nametag synchronizes with your directory every hour. You can also manually synchronize Nametag with your directory at any time by clicking Sync now.
If the integration sync stops working, the list of accounts will not be up-to-date. Depending on why the sync fails, the self-service site may also stop working. For example, this will happen if the API key provided by your directory has expired.
If this happens, select Reconnect to try reconnecting. If you still continue to have trouble, reach out to help@nametag.co and we’ll get you pointed in the right direction.
Removing a directory integration
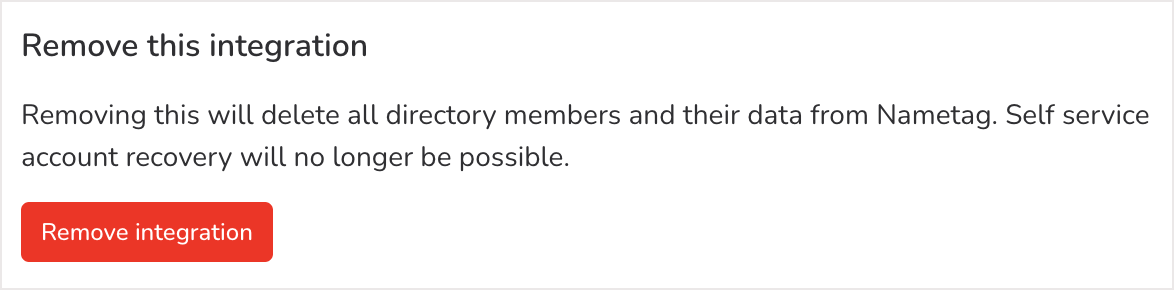
Removing an integration is a destructive action and should be done with caution. When an integration is removed, all the members of that directory and their data will be deleted from Nametag. This means that the accounts table will likely be empty and you will lose all records of resets and account actions taken by users.
It will also stop all self-service resets and prevent any further changes. This means that people will not be able to reset their passwords or MFA devices automatically using Nametag. To get the self-service site running again, reconnect the directory integration.
Configure a self-service site
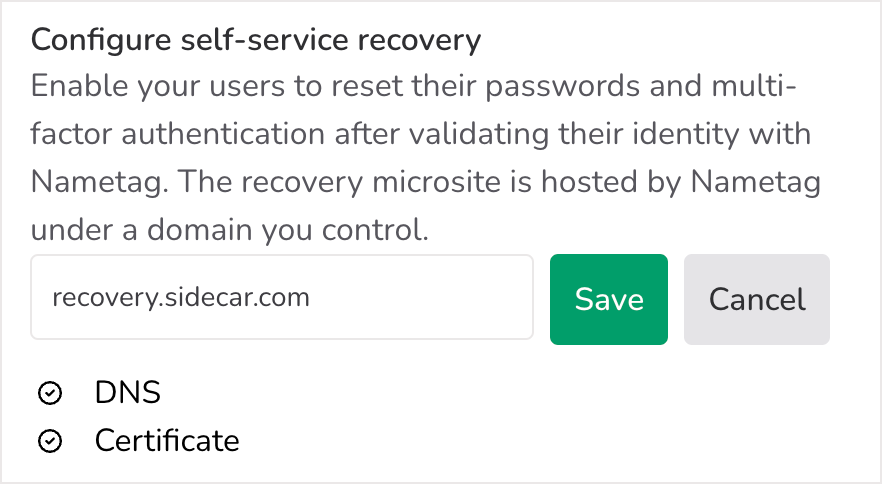
You’ll also need to set up your desired self-service recovery site. This is a basic website that’s hosted by Nametag at a domain that is customizable. On the site, people will be prompted to provide their work email address and scan a QR code.
Create a DNS record
You should set a domain that your team will remember and trust. Users will go to the domain you specify to recover their accounts.
You’ll need to create a DNS CNAME record that points your desired domain name to nametaghosted.com.
Instructions for this process will vary depending on your hosting service. If you need help determining this information, contact help@nametag.co.
Using the self-service site
People will access this site by verifying their identity using a government-issued photo ID and a real-time selfie. Once they confirm their identity and Nametag has linked the verified identity to their account, they will be able to use this site to reset their own passwords and/or multifactor authentication methods.
Monitoring updates to your directory made by Nametag
View accounts in Nametag
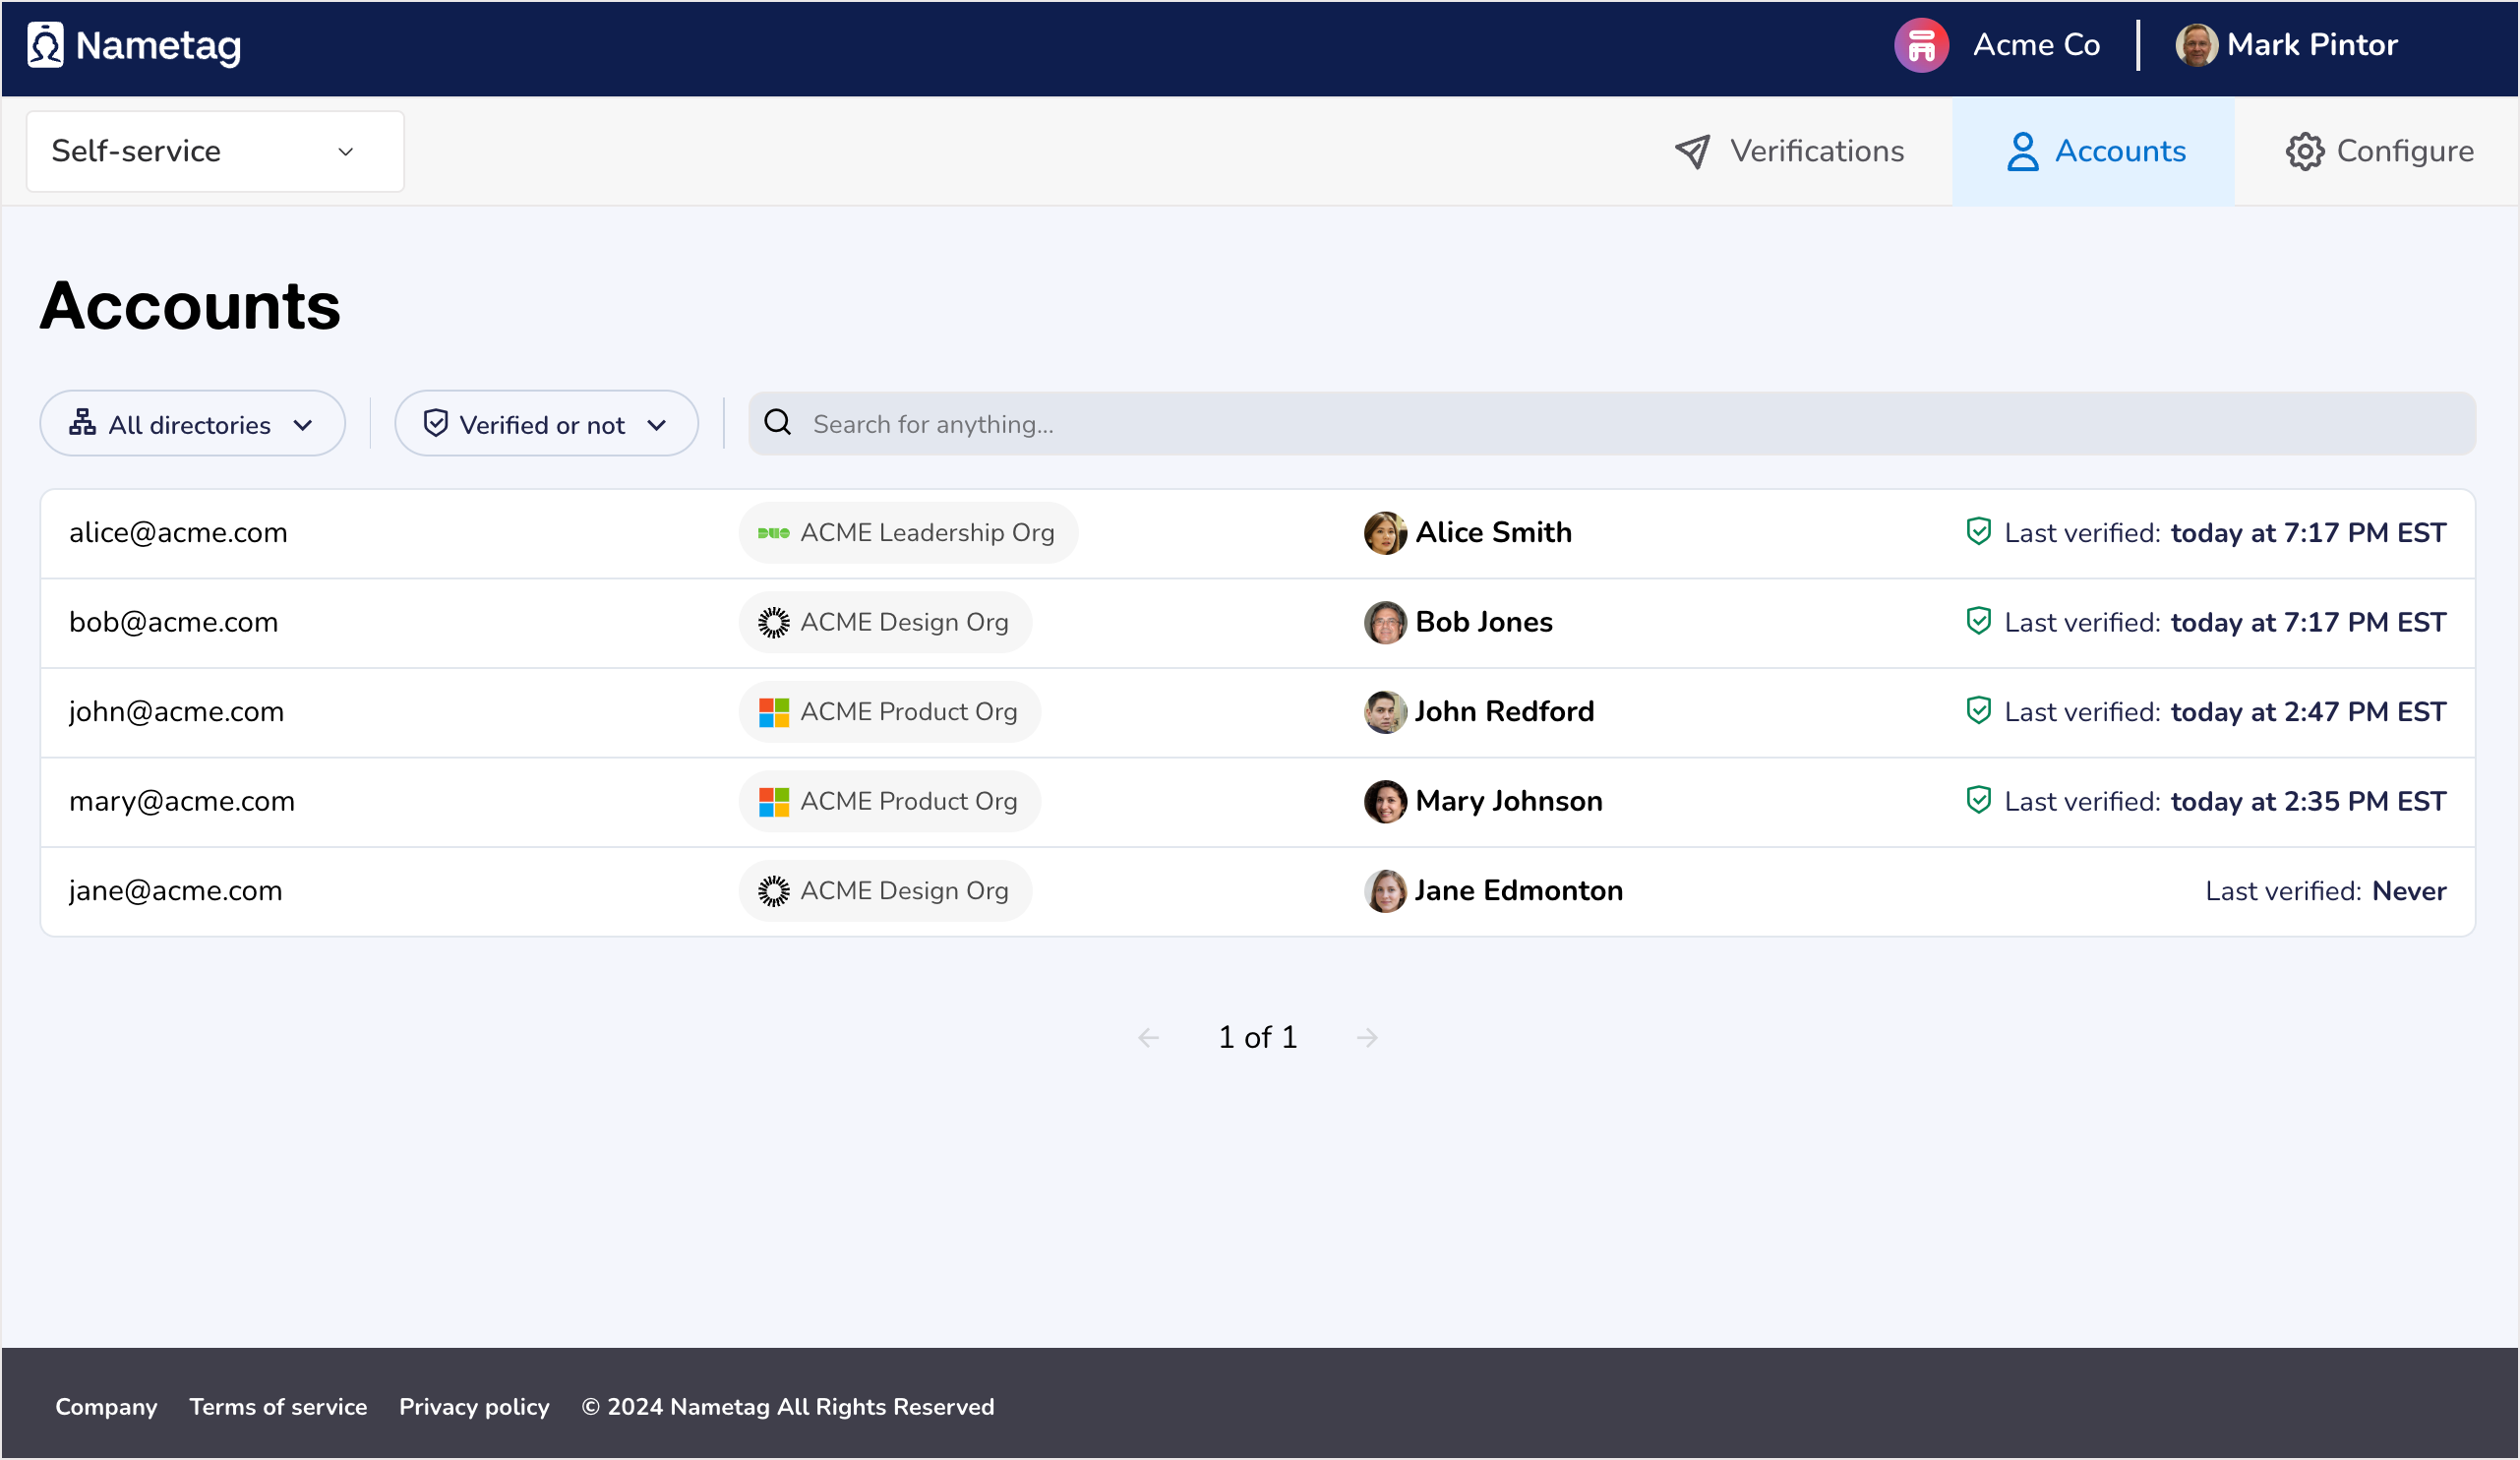
When you connect a directory, all the accounts in that directory will be added to Nametag. These people will be added as accounts, which means that you will see each individual listed with their corresponding email address and the status of their Nametag identity.
See the status of a Nametag identity
This is a key component of Nametag. Every account from your directory includes the Last verified time, which represents the status of that person’s Nametag identity. If someone has successfully completed the identity verification process, they’ll have a time stamp and a green shield icon.

This means that this individual has provided a valid government ID document and a real-time selfie, which Nametag proprietary models have analyzed, compared, and validated. Nametag verifies both that the ID document and selfie are individually valid, and that they match.
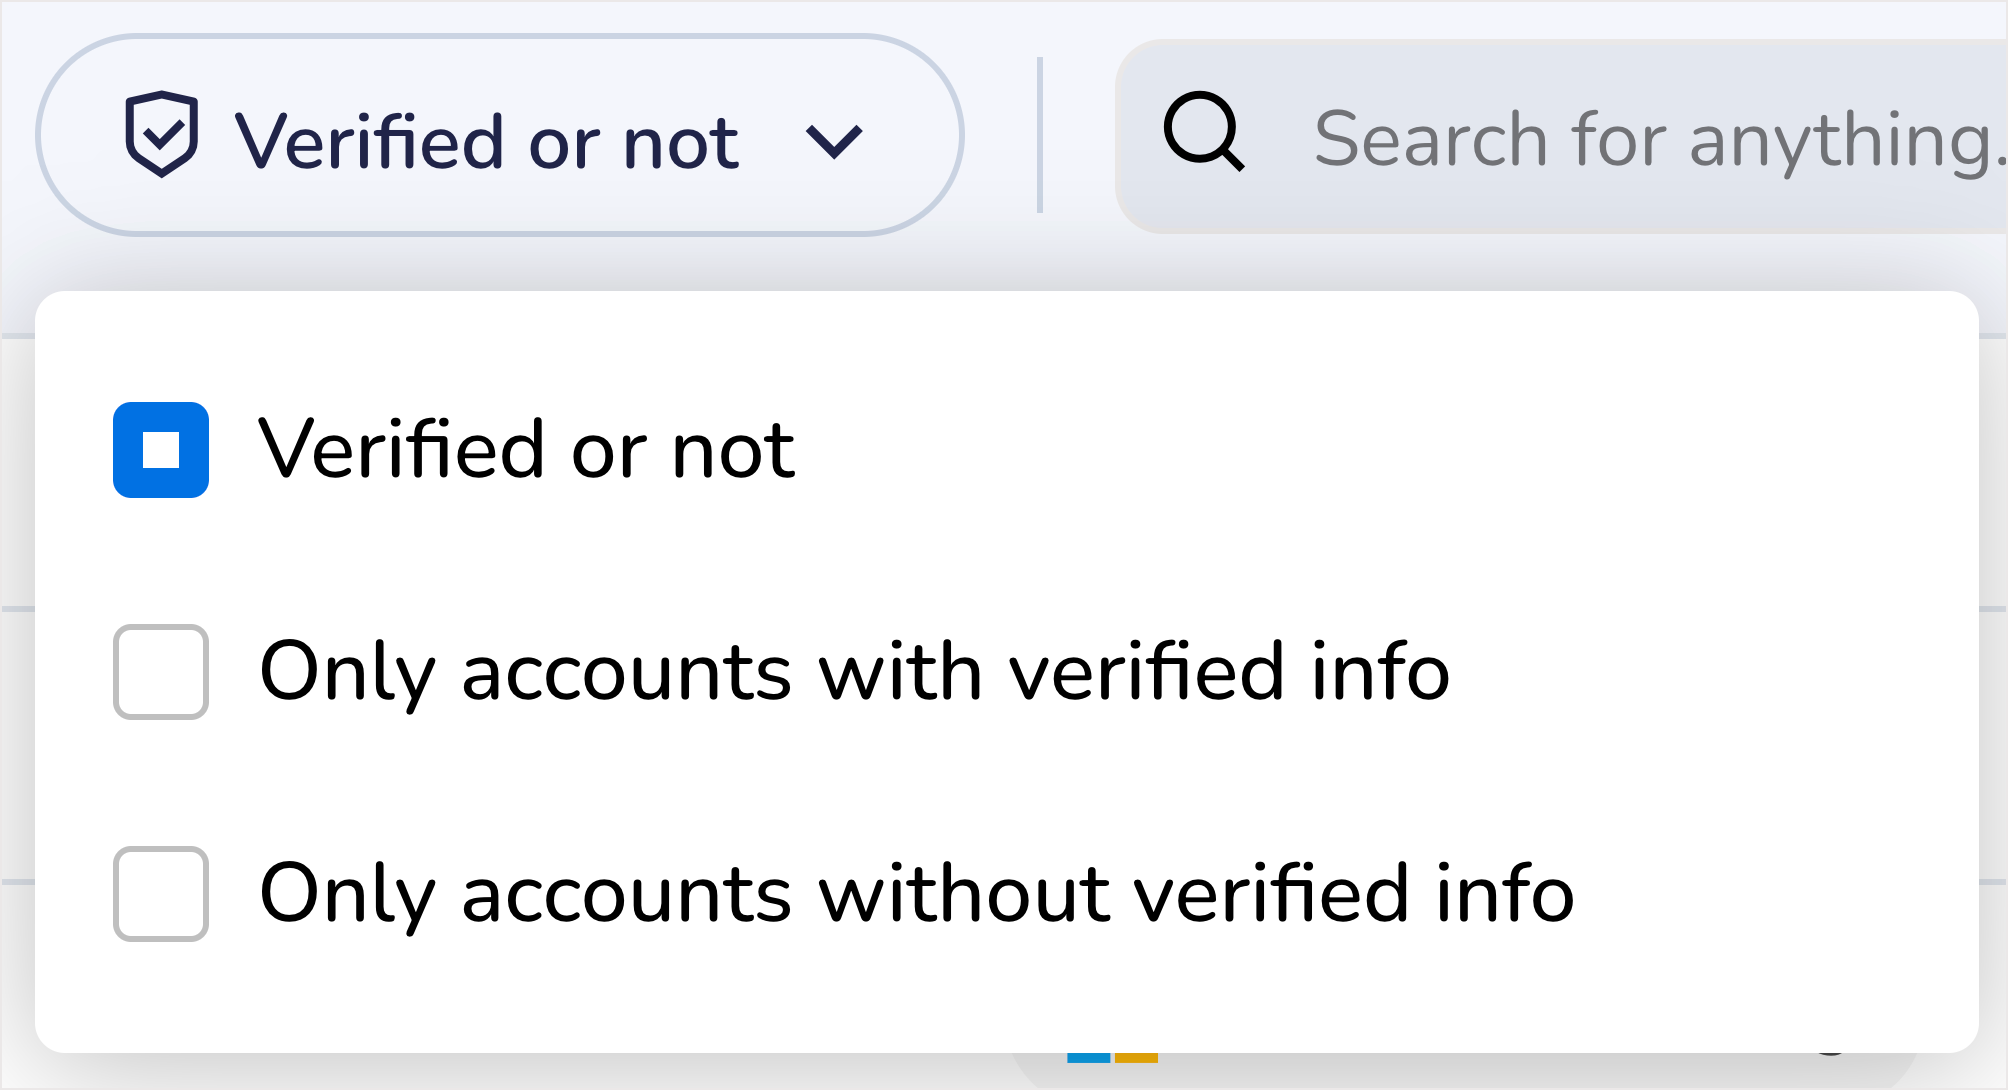
Filter this table by Verified or not to see all the accounts that fall under a certain identity status. Use this to generate a list of people who still need to verify their identities with Nametag.
Reviewing directory membership
You will also see a directory in each row of this table. This represents the directory that is linked to a given account.
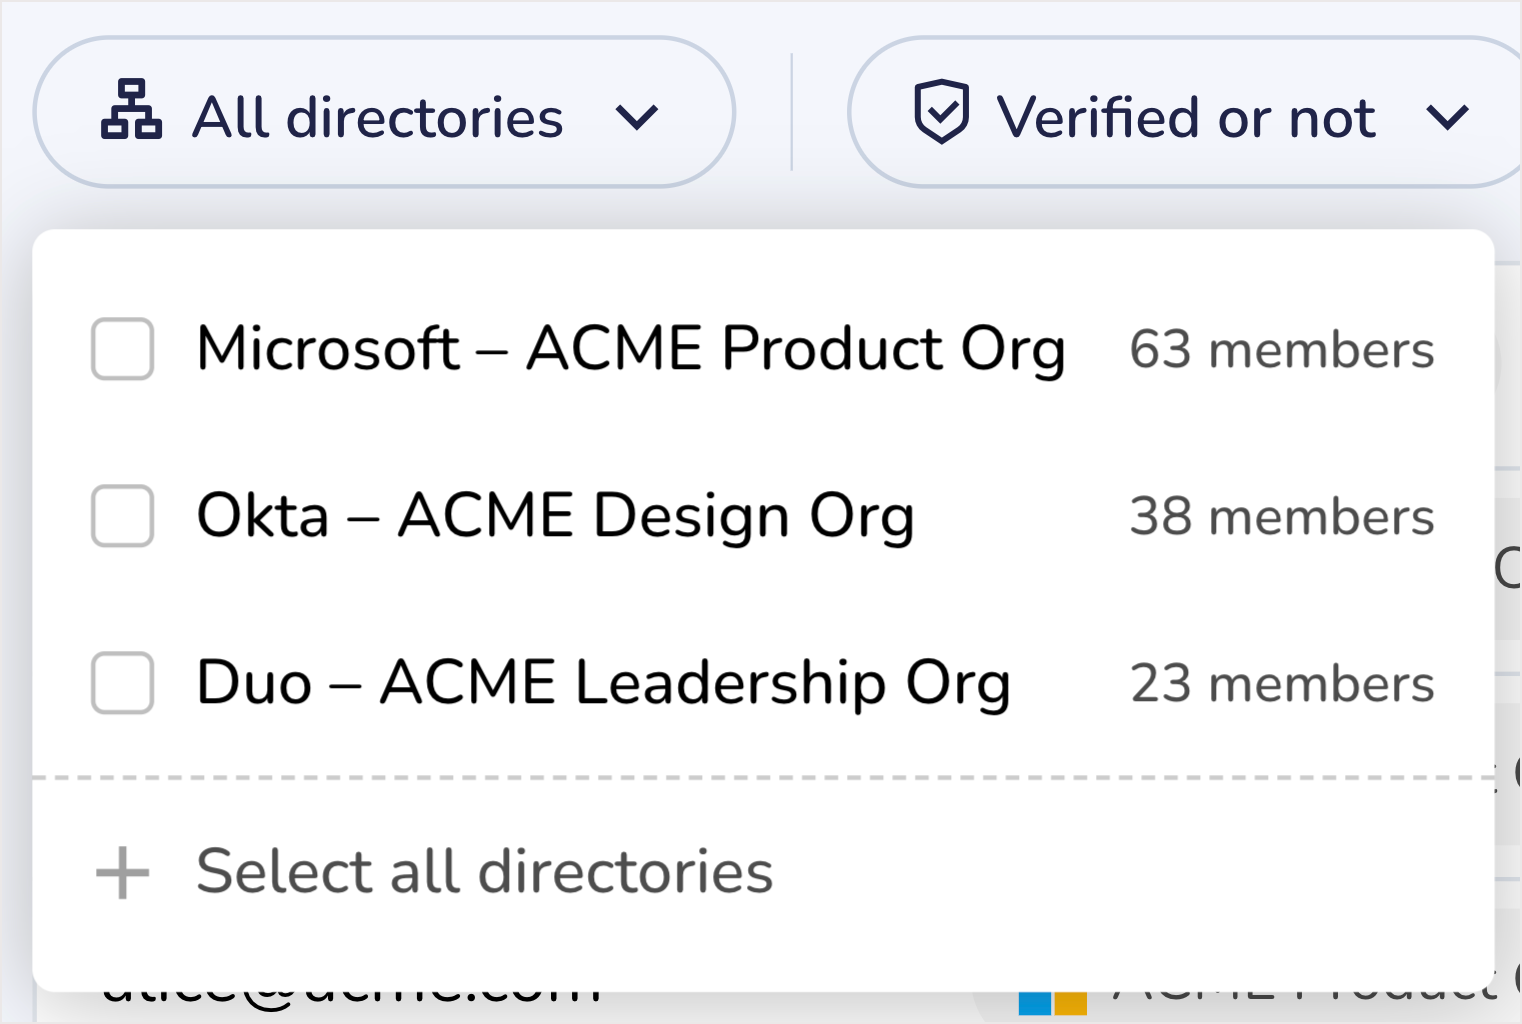
Use this when looking for all accounts in a specific directory. Filter the table by a specific directory to see only those accounts.
Get notifications via webhooks when a directory account is changed
Nametag can emit a webhook to a monitoring or alerting service you use when an account is recovered (that is, a password or MFA device is reset by Nametag). See the API reference on this for more information.