Using Nametag for automated account recovery
Use Nametag to help your users recover their accounts when they’re locked out – whether they forgot their password or lost access to a second authentication factor.
This guide walks you through building a basic app that uses Nametag to verify the identity of existing users who can’t sign in the usual way. If you’d like to learn how to use Nametag for logins instead, check out this short tutorial.
Prerequisite: You must have collected and stored your user’s name at sign-up time (or at some point before they lose access to their account). The name doesn’t have to match exactly, but it must be close.
The complete example code is available at https://github.com/nametaginc/account-recovery-example-node.
Here’s the user experience we’ll implement:
- The user provides their email address (or other account ID) and indicates they’re locked out and enter your recovery flow.
- You redirect the user’s browser to
https://nametag.co/authorizewith some parameters, includingstatewhich tracks the user through the flow. - The user scans a QR code (desktop) or presses a button (mobile) and completes ID verification in Nametag.
- The user’s browser is redirected back to your server at a callback URL you specify. This request contains a
codequery parameter that Nametag provided and thestatethat you provided. - Your server makes a call to the Nametag API to verify
code. - Your server uses
stateto find the user’s account and fetch the expected name. - Your server makes a call to the Nametag API to verify that the name you expect matches the verified name the user provided to Nametag.
- Your server resets their password or MFA.
Configuring Nametag
To get started, visit https://console.nametag.co and scan the QR code with your mobile phone. You authenticate to Nametag using Nametag itself, so you will go through the same ID verification flow as your users will.
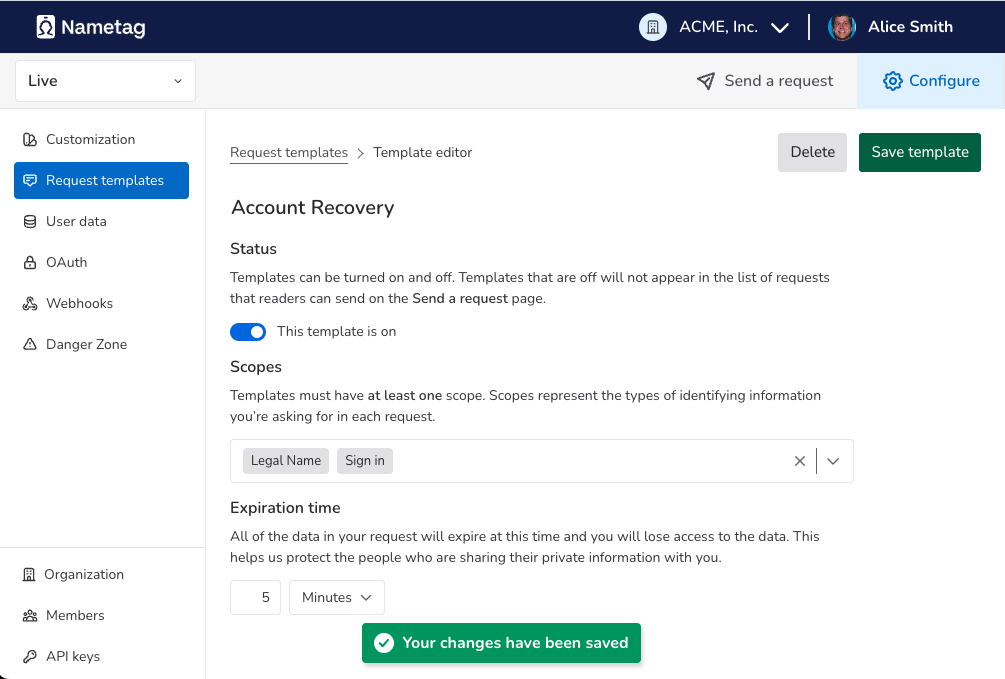
Creating a request template
We suggest that you begin by creating a new request template for account recovery. You can create a new template by following these steps:
- Go to Request templates in the Configure sidebar menu
- Select Create a template
- Select the template name to rename it Account recovery
Adding scopes
Scopes are the specific data points that people are asked to provide during verification. Different types of requests may ask for different sets of scopes, so you can create as many request templates as you need.
You can add scopes to a request template by following these steps:
- Go to Request templates in the Configure sidebar menu
- Select an existing template or create a new one
- Select the Scope field to add or remove scopes
Add the following two scopes (API reference):
- Sign in (
login) This scope is required because we are going to bind a verified user to a browser session using acodeparameter. (Some use cases don’t requirelogin, but this isn’t one.) - Legal Name (
nt:legal_name) This scope is required so that the user can consent to sharing their verified legal name with you for the purposes of comparison. Without it, the name comparison API will reject your request.
Setting an expiration time
Directly below the scopes, you’ll see Expiration time. This represents the amount of time that you will retain access to a user’s data after a request has been completed. Because we are performing account recovery automatically, this can be a very short interval, like 5 minutes.
Make sure you press Save to save the changes you made to your template
Configuring OAuth
Nametag implements OAuth 2.0 to let users approve sharing their information with you. To use this flow, you’ll need to configure a few settings. Go to the OAuth page from the left-hand panel.
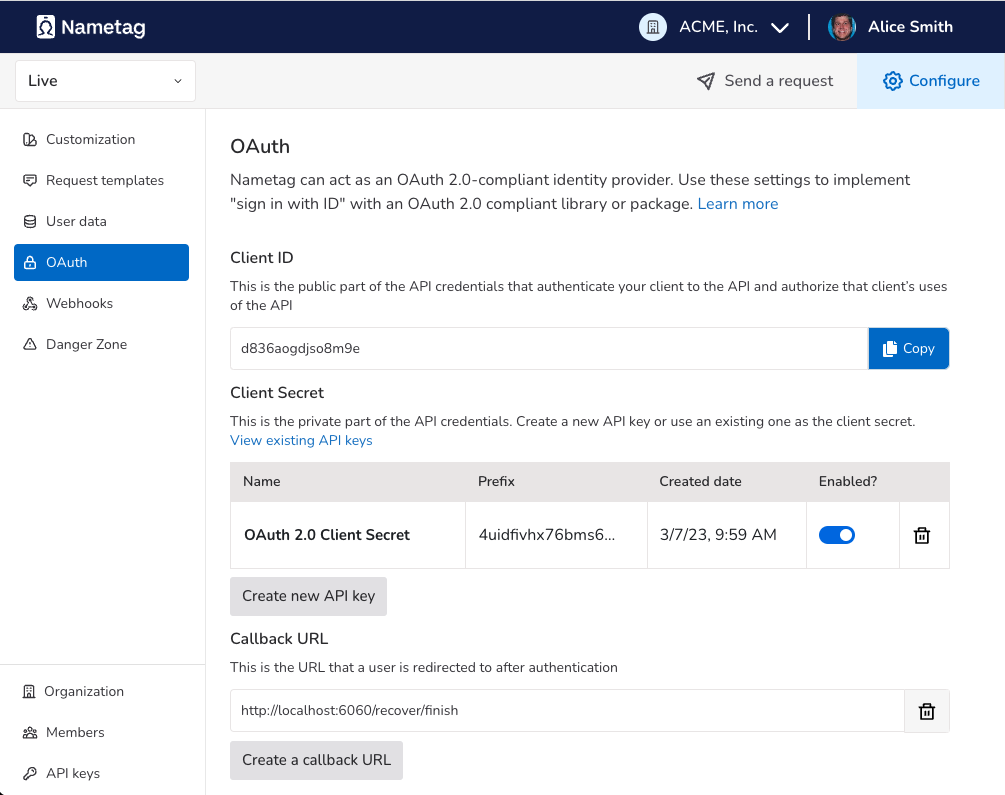
Client ID and client secret
The OAuth 2.0 client ID and secret identify your server to Nametag. The client ID is public and safe to expose in user browsers, while the client secret should be known only to your server.
You can obtain your Client ID by following these steps:
- Go to OAuth in the Configure sidebar menu
- Copy the Client ID to your clipboard and save it somewhere (we’ll use it in just a moment)
You can generate a new client secret by following these steps:
- Go to OAuth in the Configure sidebar menu
- Select Create new API key
- Accept the default name for the key
- Copy the key to your clipboard and save it somewhere (we’ll use it in just a moment).
Note: Don’t forget to copy your client secret before moving on. This key will only be shown once, and it cannot be recovered later. (If you do forget you can always delete and recreate the secret if you need to)
Callback URL
The callback URL is where Nametag will send your users after they finish verifying their identity. We’ll implement a handler for this URL in the next section. For now, enter http://localhost:6060/recover/finish for the callback URL.
Implementing the server
This section walks you through how to implement the server components. The code samples are provided in TypeScript, but any language will work.
Basic scaffolding
Create a new project:
$ mkdir account-recovery-example
$ cd account-recovery-example
Set up a basic package.json:
{
  "name": "account-recovery-example",
  "version": "1.0.0",
  "description": "Example of using Nametag for account recovery",
  "scripts": {
    "dev": "nodemon server.ts"
  },
  "dependencies": {
    "@types/express": "^4.17.17",
    "express": "^4.18.2",
    "nodemon": "^2.0.21",
    "ts-node": "^10.9.1",
    "typescript": "^4.9.5"
  }
}
Install dependencies:
$ npm install
Set up a basic HTTP server in server.ts:
import http from 'http';
import express, { Request, Response, NextFunction } from 'express';

const router = express();
router.use(express.urlencoded({ extended: false }));

const getRoot = async (req: Request, res: Response, next: NextFunction) => {
    return res.status(200).type("text/html").send(`
<html>
    <head>
        <style>input, button, a { display: block; margin: 10px 0;}</style>
    </head>
    <body>
        <h1>Example sign in page</h1>
        <form method="post" action="/recover/start">
            <input type="text" name="email" placeholder="Email" value="alice@example.com">
            <button>I forgot my password</button>
        </form>
    </body>
</html>`)
};
router.get('/', getRoot)

const httpServer = http.createServer(router);
const PORT = 6060
httpServer.listen(PORT, () => console.log(`The server is running on port ${PORT}`));
Start the server with:
$ npm run dev
Open your browser to http://localhost:6060 and you should see our (very) basic sign in page.
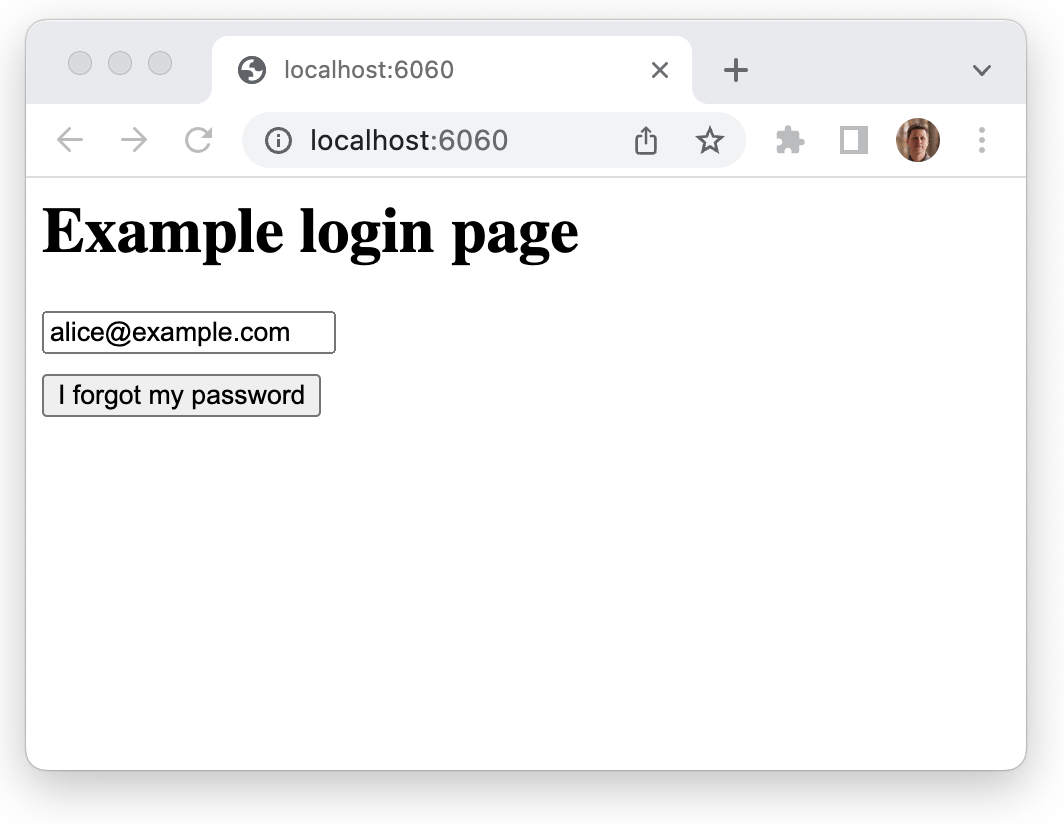
Starting the flow
To start the flow, we need to direct the user’s browser to https://nametag.co/authorize with parameters that describe the flow we want. Add the following handler to /recover/start.
// values from Nametag
const CLIENT_ID = "*CLIENT_ID*"
const CLIENT_SECRET = "*CLIENT_SECRET*"

interface Account {
    email: string
    name: string
}

// fake accounts database
var accounts: Account[] = [
    {
        email: "alice@example.com",
        // if you put your name here, recovery will work.
        // or, you can put someone else's name if you want it to fail.
        name: "*NAME_FOR_TESTING*"
    }
]

const handleRecoverStart = async (req: Request, res: Response, next: NextFunction) => {
    const state = req.body["email"]

    const query = new URLSearchParams()
    query.append("client_id", CLIENT_ID)
    query.append("redirect_uri", "http://localhost:6060/recover/finish")
    query.append("scope", "login nt:legal_name")
    query.append("state", state)

    let authorizeURL = "https://nametag.co/authorize?" + query.toString()
    return res.status(200).redirect(authorizeURL.toString())
};
router.post('/recover/start', handleRecoverStart)
This handler constructs a Nametag authorization URL, specifying the parameters we will need. The value *CLIENT_ID* identifies your server to Nametag. The redirect_uri parameter tells us where to send your user when they’re done. scope tells us which information you need (nt:legal_name) and also the kind of flow we’re asking for (login). Finally we are using the state parameter to store the account identifier of the person we’re trying to recover.
Make sure you put your name in *NAME_FOR_TESTING* so that you can test the flow for yourself. Nametag will compare against this name.
If you now select “I forgot my password,” you will see your browser get redirected to Nametag and display a QR code.
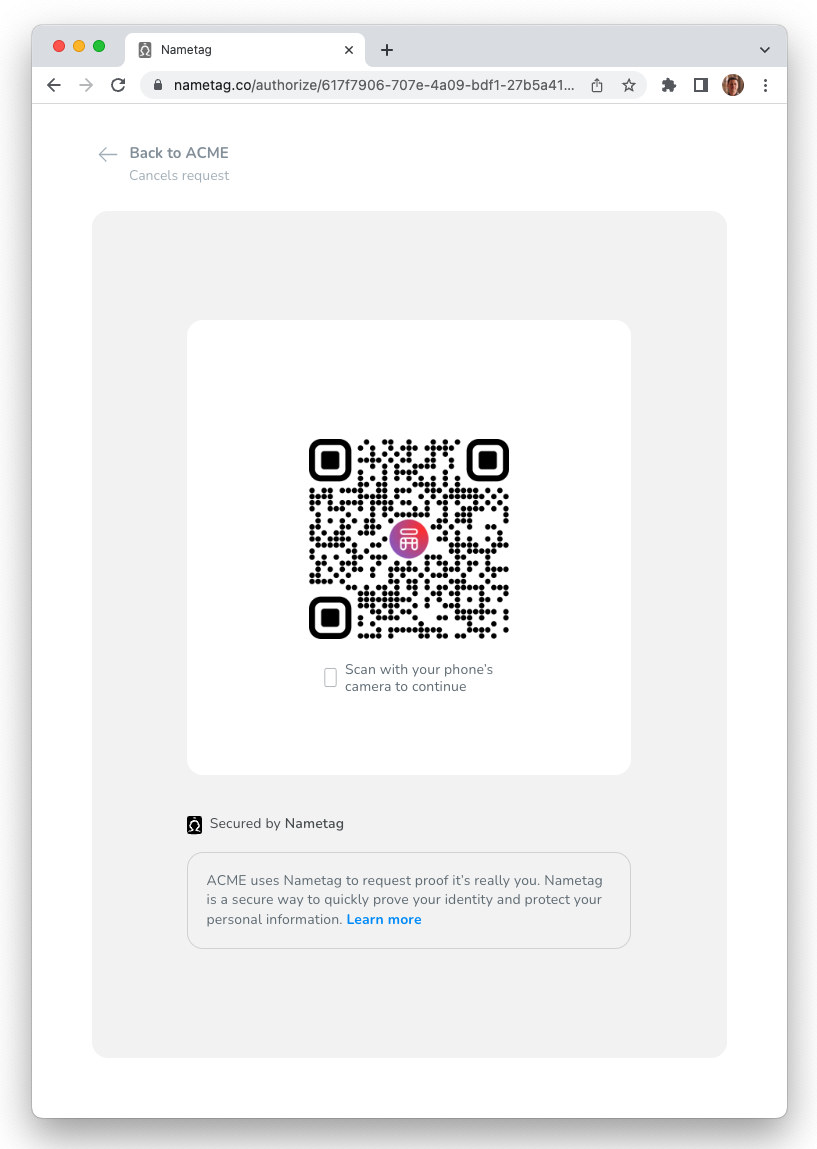
You can scan the QR code with your mobile phone. You will re-use your stored ID from signing in to Nametag, so you’ll just need to press accept.
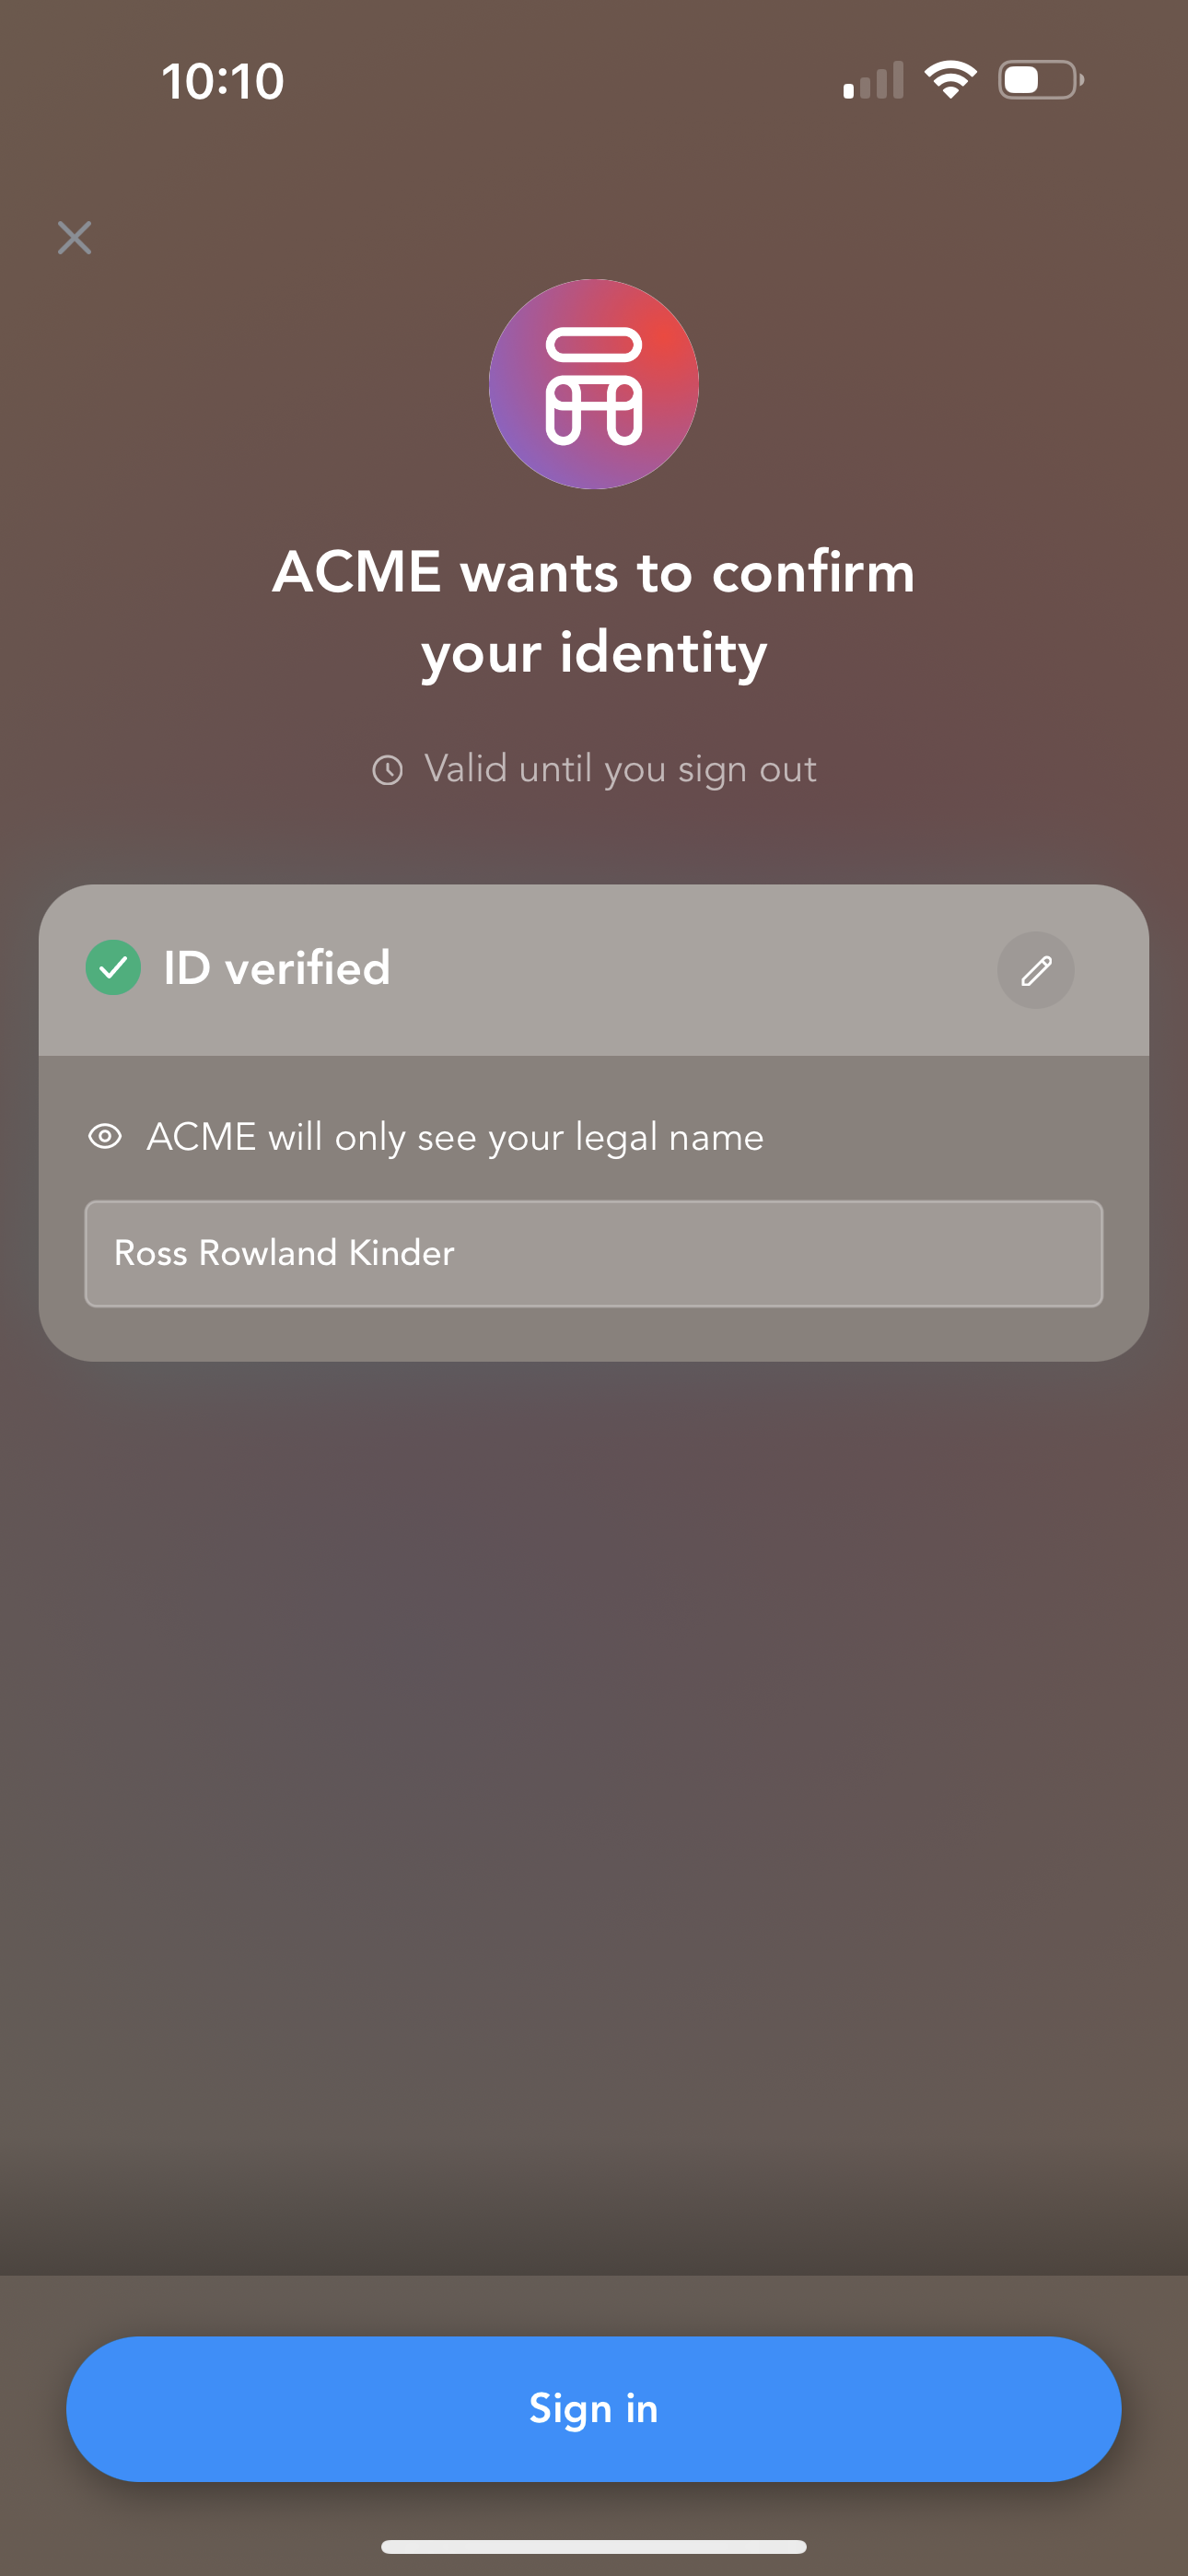
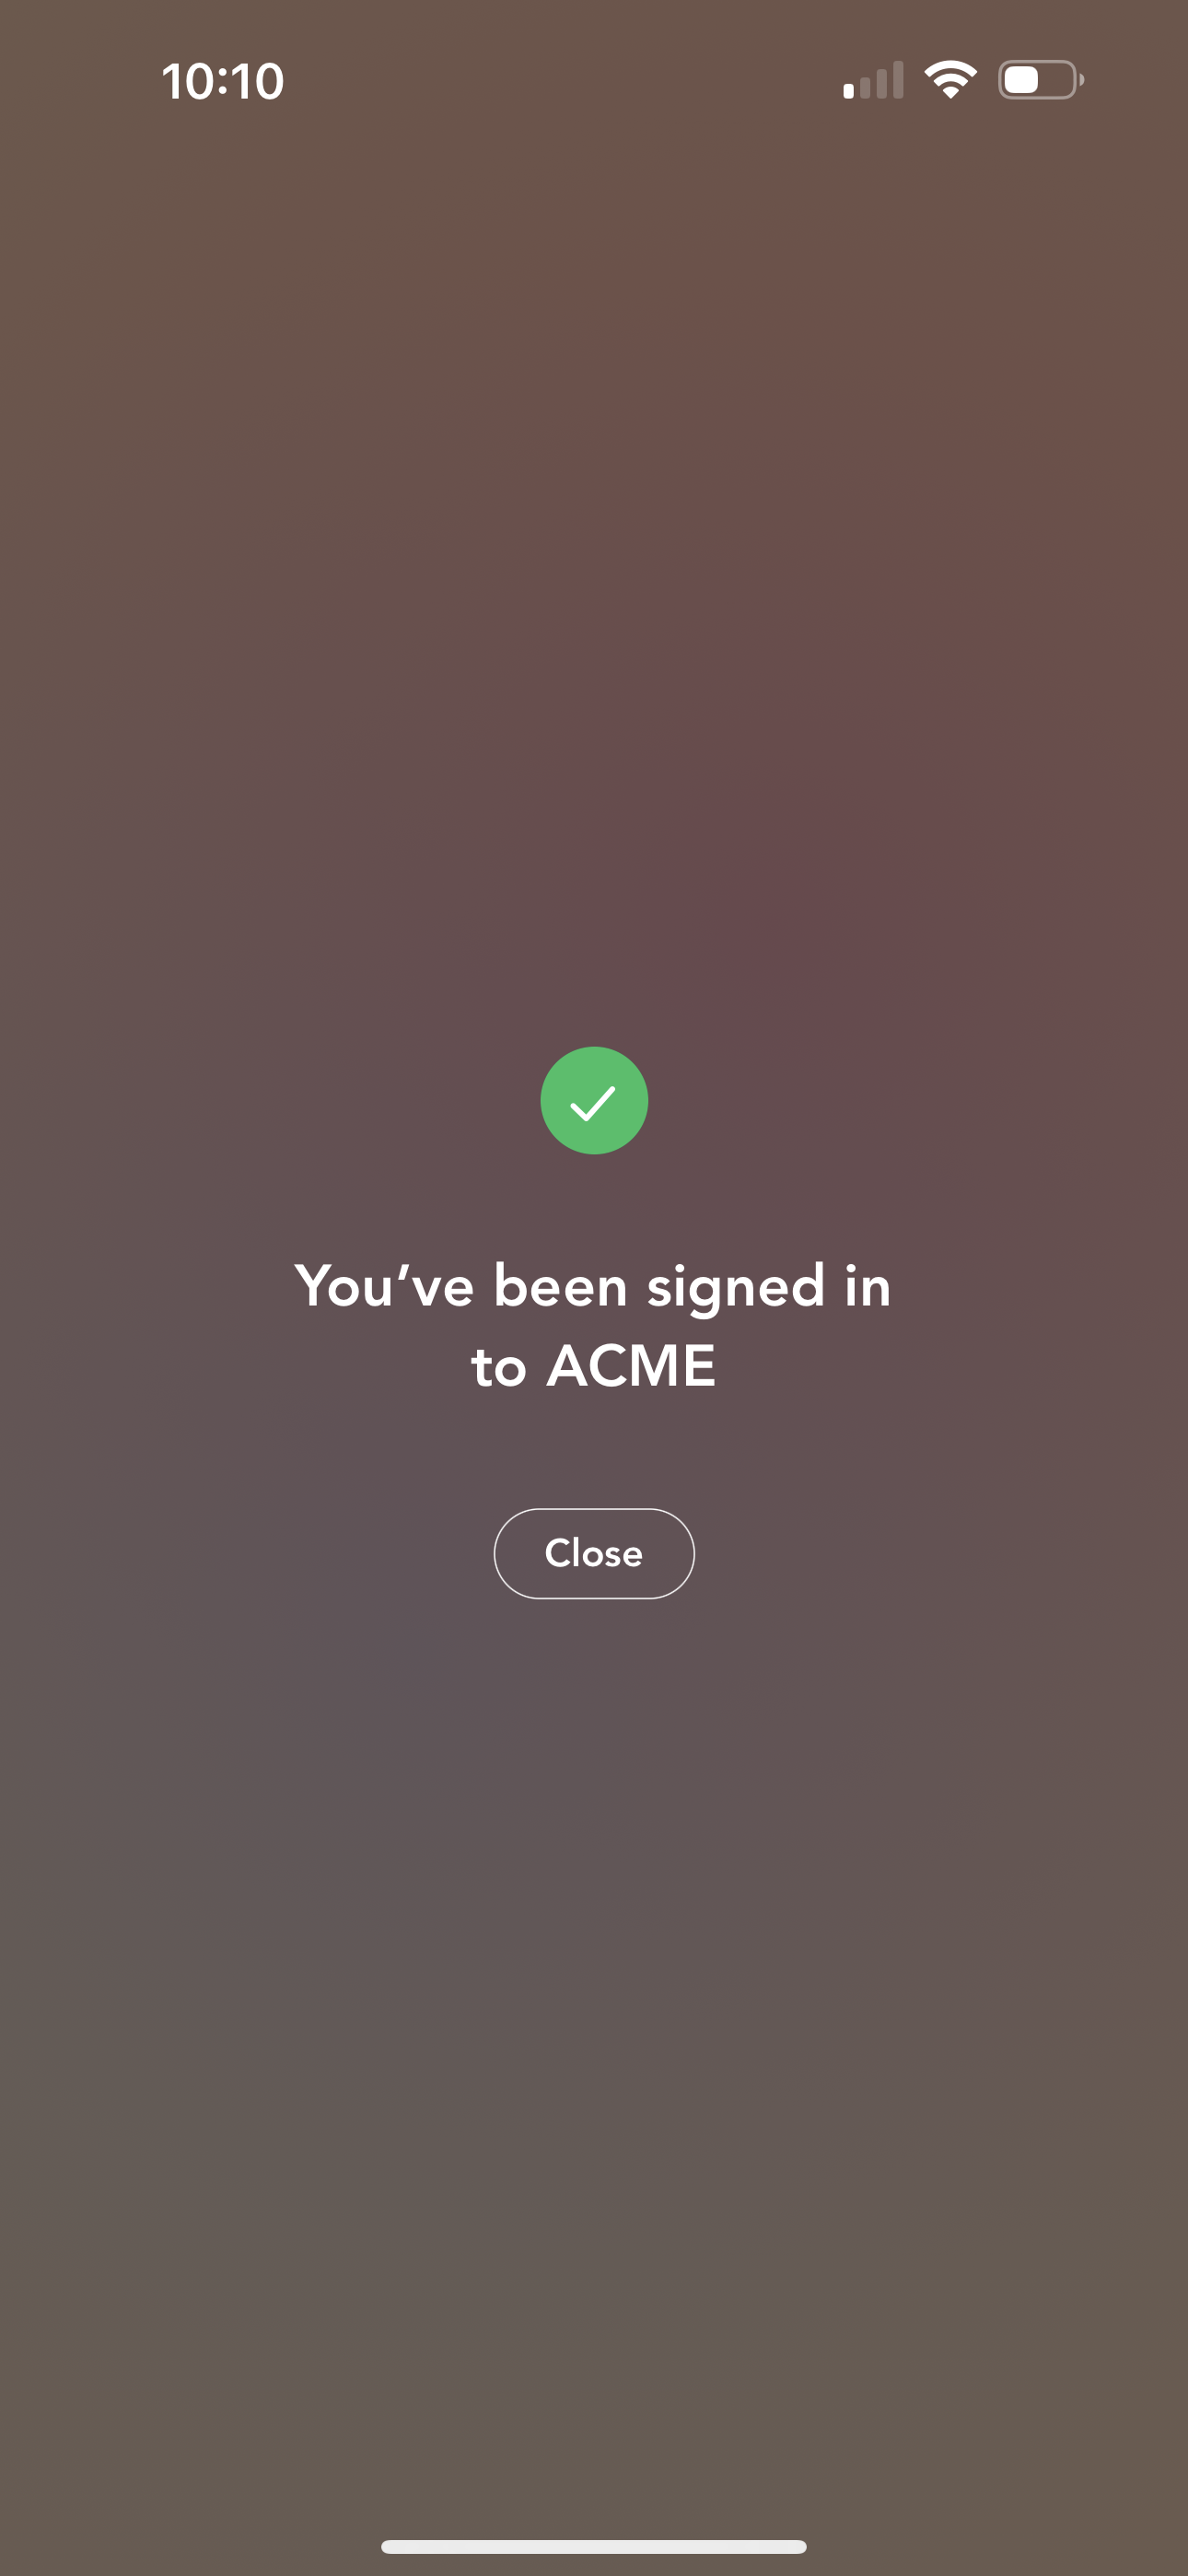
When you press “accept” your browser will automatically advance to your callback URL. You’ll see an error because we haven’t implemented yet.
Handling the callback
Now we need to implement a handler for /recover/finish. If the request is successful, the query will contain code (which Nametag issued) and state (which you passed to authorize). We have to do a few things in this handler:
-
Call the Nametag API to verify
codeand fetchsubject. (A subject is a unique identifier for the person, which we’ll need in step 3.) -
Use
stateto find the user’s account and fetch the expected name. -
Make a call to the Nametag API to verify that the name we expect matches the verified name the user provided to Nametag.
-
Reset the password.
const handleRecoverFinish = async (req: Request, res: Response, next: NextFunction) => {
if (req.query["error"]) {
return res.status(400).send(`Error: ${req.query["error"]}`)
}
const code = req.query["code"] as string
const state = req.query["state"] as string
// call the Nametag API to verify code and fetch subject
let subject: string
try {
subject = await verifyCode(code)
} catch (e) {
return res.status(400).send(`Error: ${e}`)
}
// Use state to find the user's account
const account = accounts.find(a => a.email === state)
if (!account) {
return res.status(400).send(`Error: account does not exist`)
}
// call the Nametag API to compare the expected name in account to the one on their ID.
const matchConfidence = await compareName(subject, account.name)
if (matchConfidence < 0.75) {
return res.status(403).send(`Error: name does not match`)
}
// TODO: reset the password
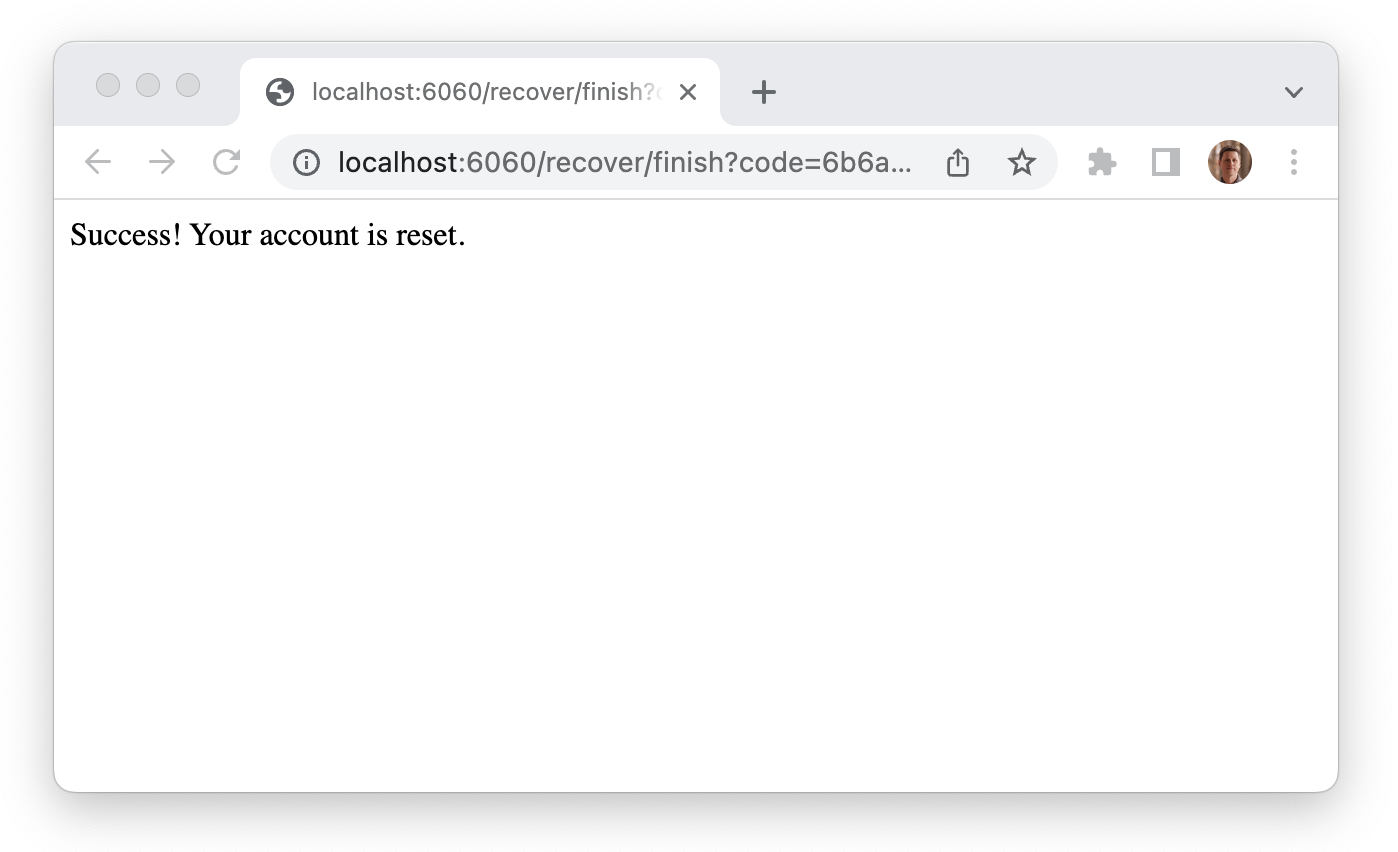
return res.status(200).send(`Success! Your account is reset.`)
};
router.get('/recover/finish', handleRecoverFinish)
You will notice that we are also handling an error query parameter. This parameter is present when code is not present, and indicates that the user did not accept the request. The OAuth 2.0 standard specifies a few values for this parameter, but you will most commonly see access_denied which means that the user canceled the flow without completing it.
The function to verify code uses *CLIENT_ID* and *CLIENT_SECRET* so Nametag knows it’s talking to your server. If code is invalid, the response from the server will contain an error key, or subject if the code was valid. We don’t need the other fields right now. For details, see also the token endpoint in the API reference.
const verifyCode = async (code: string): Promise<string> => {
    const tokenRequest = new URLSearchParams();
    tokenRequest.set("grant_type",  "authorization_code")
    tokenRequest.set("client_id", CLIENT_ID)
    tokenRequest.set("client_secret",  CLIENT_SECRET)
    tokenRequest.set("redirect_uri",  "http://localhost:6060/recover/finish")
    tokenRequest.set("code",  code)
    const tokenHttpResponse = await fetch("https://nametag.co/token", {
        method: "POST",
        body: tokenRequest
    })
    const tokenResponse = await tokenHttpResponse.json()
    if (tokenResponse["error"]) {
        throw new Error(`${tokenResponse["error"]} ${tokenResponse["error_description"]}`)
    }
    return tokenResponse["subject"] as string
}
Now that we have a subject, we can use it to verify that the person’s name is what we expect. The compare values endpoint returns a value between 0.0 (not matched) and 1.0 (matched exactly).
const compareName = async (subject: string, expectedName: string): Promise<number> => {
    const compareHttpResponse = await fetch(`https://nametag.co/people/${encodeURIComponent(subject)}/compare?token=${encodeURI(CLIENT_SECRET)}`,
        {
            method: "POST",
            body: JSON.stringify({
                expectations: [
                    {
                        "scope": "nt:legal_name",
                        "value": expectedName
                    }
                ]
            })
        })

    const compareResponse = await compareHttpResponse.json()
    return compareResponse["confidence"] as number
}
Putting it all together
The fully worked example is at https://github.com/nametaginc/account-recovery-example-node/blob/main/server.ts.
You can now pass all the way through the flow and see your success message at the end.
import http from 'http';
import express, { Request, Response, NextFunction } from 'express';

const router = express();
router.use(express.urlencoded({ extended: false }));

const CLIENT_ID = "*YOUR_CLIENT_ID*"
const CLIENT_SECRET = "*CLIENT_SECRET*"

interface Account {
    email: string
    name: string
}

// fake accounts database
var accounts: Account[] = [
    {
        email: "alice@example.com",
        // if you put your name here, recovery will work.
        // or, you can put someone else's name if you want it to fail.
        name: "*NAME_FOR_TESTING*",
    },
]

const getRoot = async (req: Request, res: Response, next: NextFunction) => {
    return res.status(200).type("text/html").send(`
<html>
    <head>
        <style>input, button, a { display: block; margin: 10px 0 }</style>
    </head>
    <body>
        <h1>Example login page</h1>
        <form method="post" action="/recover/start">
            <input type="text" name="email" placeholder="Email" value="alice@example.com">
            <button>I forgot my password</button>

            <div><strong>Demo note(s)</strong></div>
            ${accounts.map(a => `<div>${a.email} can be recovered only by ${a.name}</div>`)}
        </form>
    </body>
</html>`)
};
router.get('/', getRoot)

const handleRecoverStart = async (req: Request, res: Response, next: NextFunction) => {
    const state = req.body["email"]

    const query = new URLSearchParams()
    query.append("client_id", CLIENT_ID)
    query.append("redirect_uri", "http://localhost:6060/recover/finish")
    query.append("scope", "login nt:legal_name")
    query.append("state", state)

    let authorizeURL = "https://nametag.co/authorize?" + query.toString()
    return res.status(200).redirect(authorizeURL.toString())
};
router.post('/recover/start', handleRecoverStart)

const verifyCode = async (code: string): Promise<string> => {
    const tokenRequest = new URLSearchParams();
    tokenRequest.set("grant_type",  "authorization_code")
    tokenRequest.set("client_id", CLIENT_ID)
    tokenRequest.set("client_secret",  CLIENT_SECRET)
    tokenRequest.set("redirect_uri",  "http://localhost:6060/recover/finish")
    tokenRequest.set("code",  code)
    const tokenHttpResponse = await fetch("https://nametag.co/token", {
        method: "POST",
        body: tokenRequest
    })
    const tokenResponse = await tokenHttpResponse.json()
    if (tokenResponse["error"]) {
        throw new Error(`${tokenResponse["error"]} ${tokenResponse["error_description"]}`)
    }
    return tokenResponse["subject"] as string
}

const compareName = async (subject: string, expectedName: string): Promise<number> => {
    const compareHttpResponse = await fetch(`https://nametag.co/people/${encodeURIComponent(subject)}/compare?token=${encodeURI(CLIENT_SECRET)}`,
        {
            method: "POST",
            body: JSON.stringify({
                expectations: [
                    {
                        "scope": "nt:legal_name",
                        "value": expectedName
                    }
                ]
            })
        })

    const compareResponse = await compareHttpResponse.json()
    return compareResponse["confidence"] as number
}

const handleRecoverFinish = async (req: Request, res: Response, next: NextFunction) => {
    if (req.query["error"]) {
        return res.status(400).send(`Error: ${req.query["error"]}`)
    }
    const code = req.query["code"] as string
    const state = req.query["state"] as string

    // call the Nametag API to verify code and fetch subject
    let subject: string
    try {
        subject = await verifyCode(code)
    } catch (e) {
        return res.status(400).send(`Error: ${e}`)
    }

    // Use state to find the user's account
    const account = accounts.find(a => a.email === state)
    if (!account) {
        return res.status(400).send(`Error: account does not exist`)
    }

    // call the Nametag API to compare the expected name in account to the one on their ID.
    const matchConfidence = await compareName(subject, account.name)
    if (matchConfidence < 0.75) {
        return res.status(403).send(`Error: name does not match`)
    }

    // TODO: reset the password

    return res.status(200).send(`Success! Your account is reset.`)
};
router.get('/recover/finish', handleRecoverFinish)

const httpServer = http.createServer(router);
const PORT = 6060
httpServer.listen(PORT, () => console.log(`The server is running on port ${PORT}`));
Next steps
Now that you have the basic flow working, here are a few adjustments to make before going to production:
- You could use a session token or account identifier for
staterather than an email address, to avoid passing the email address around. - If you know the user’s birthdate, you can check that it matches with the get properties endpoint.
- Replace your callback URL with the real URL of your server.
- Upload your logo and configure branding for a customized experience.